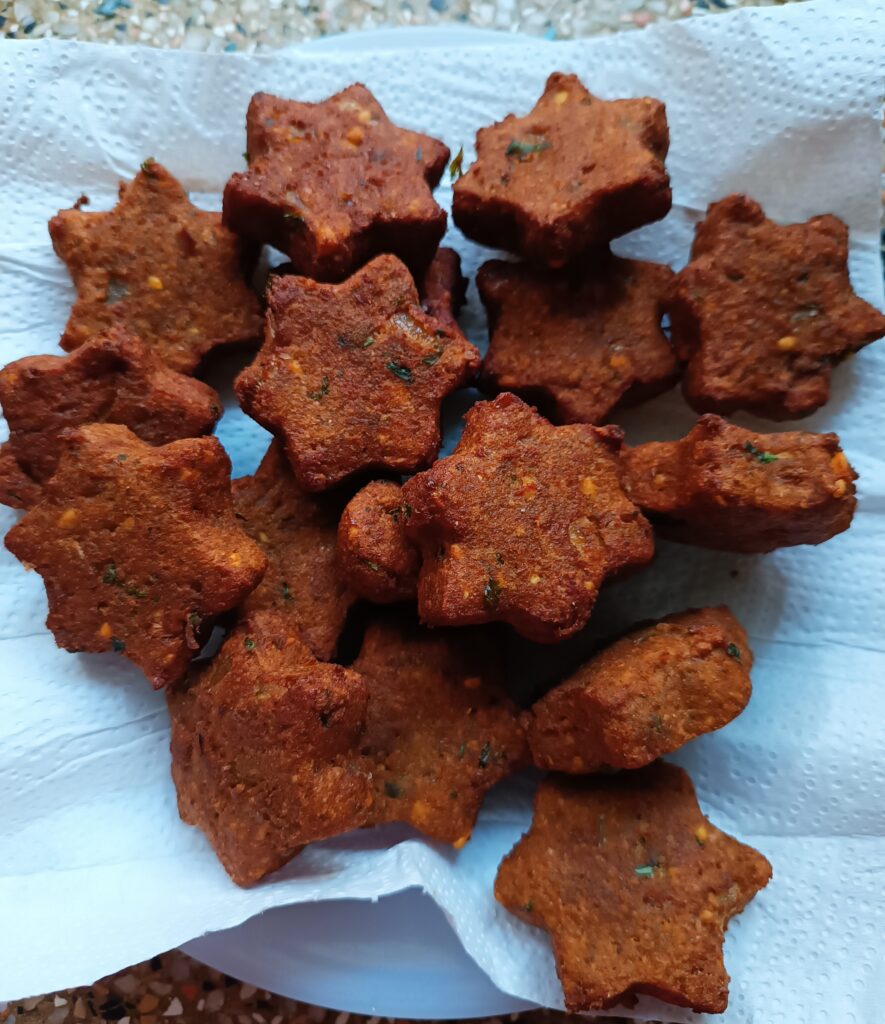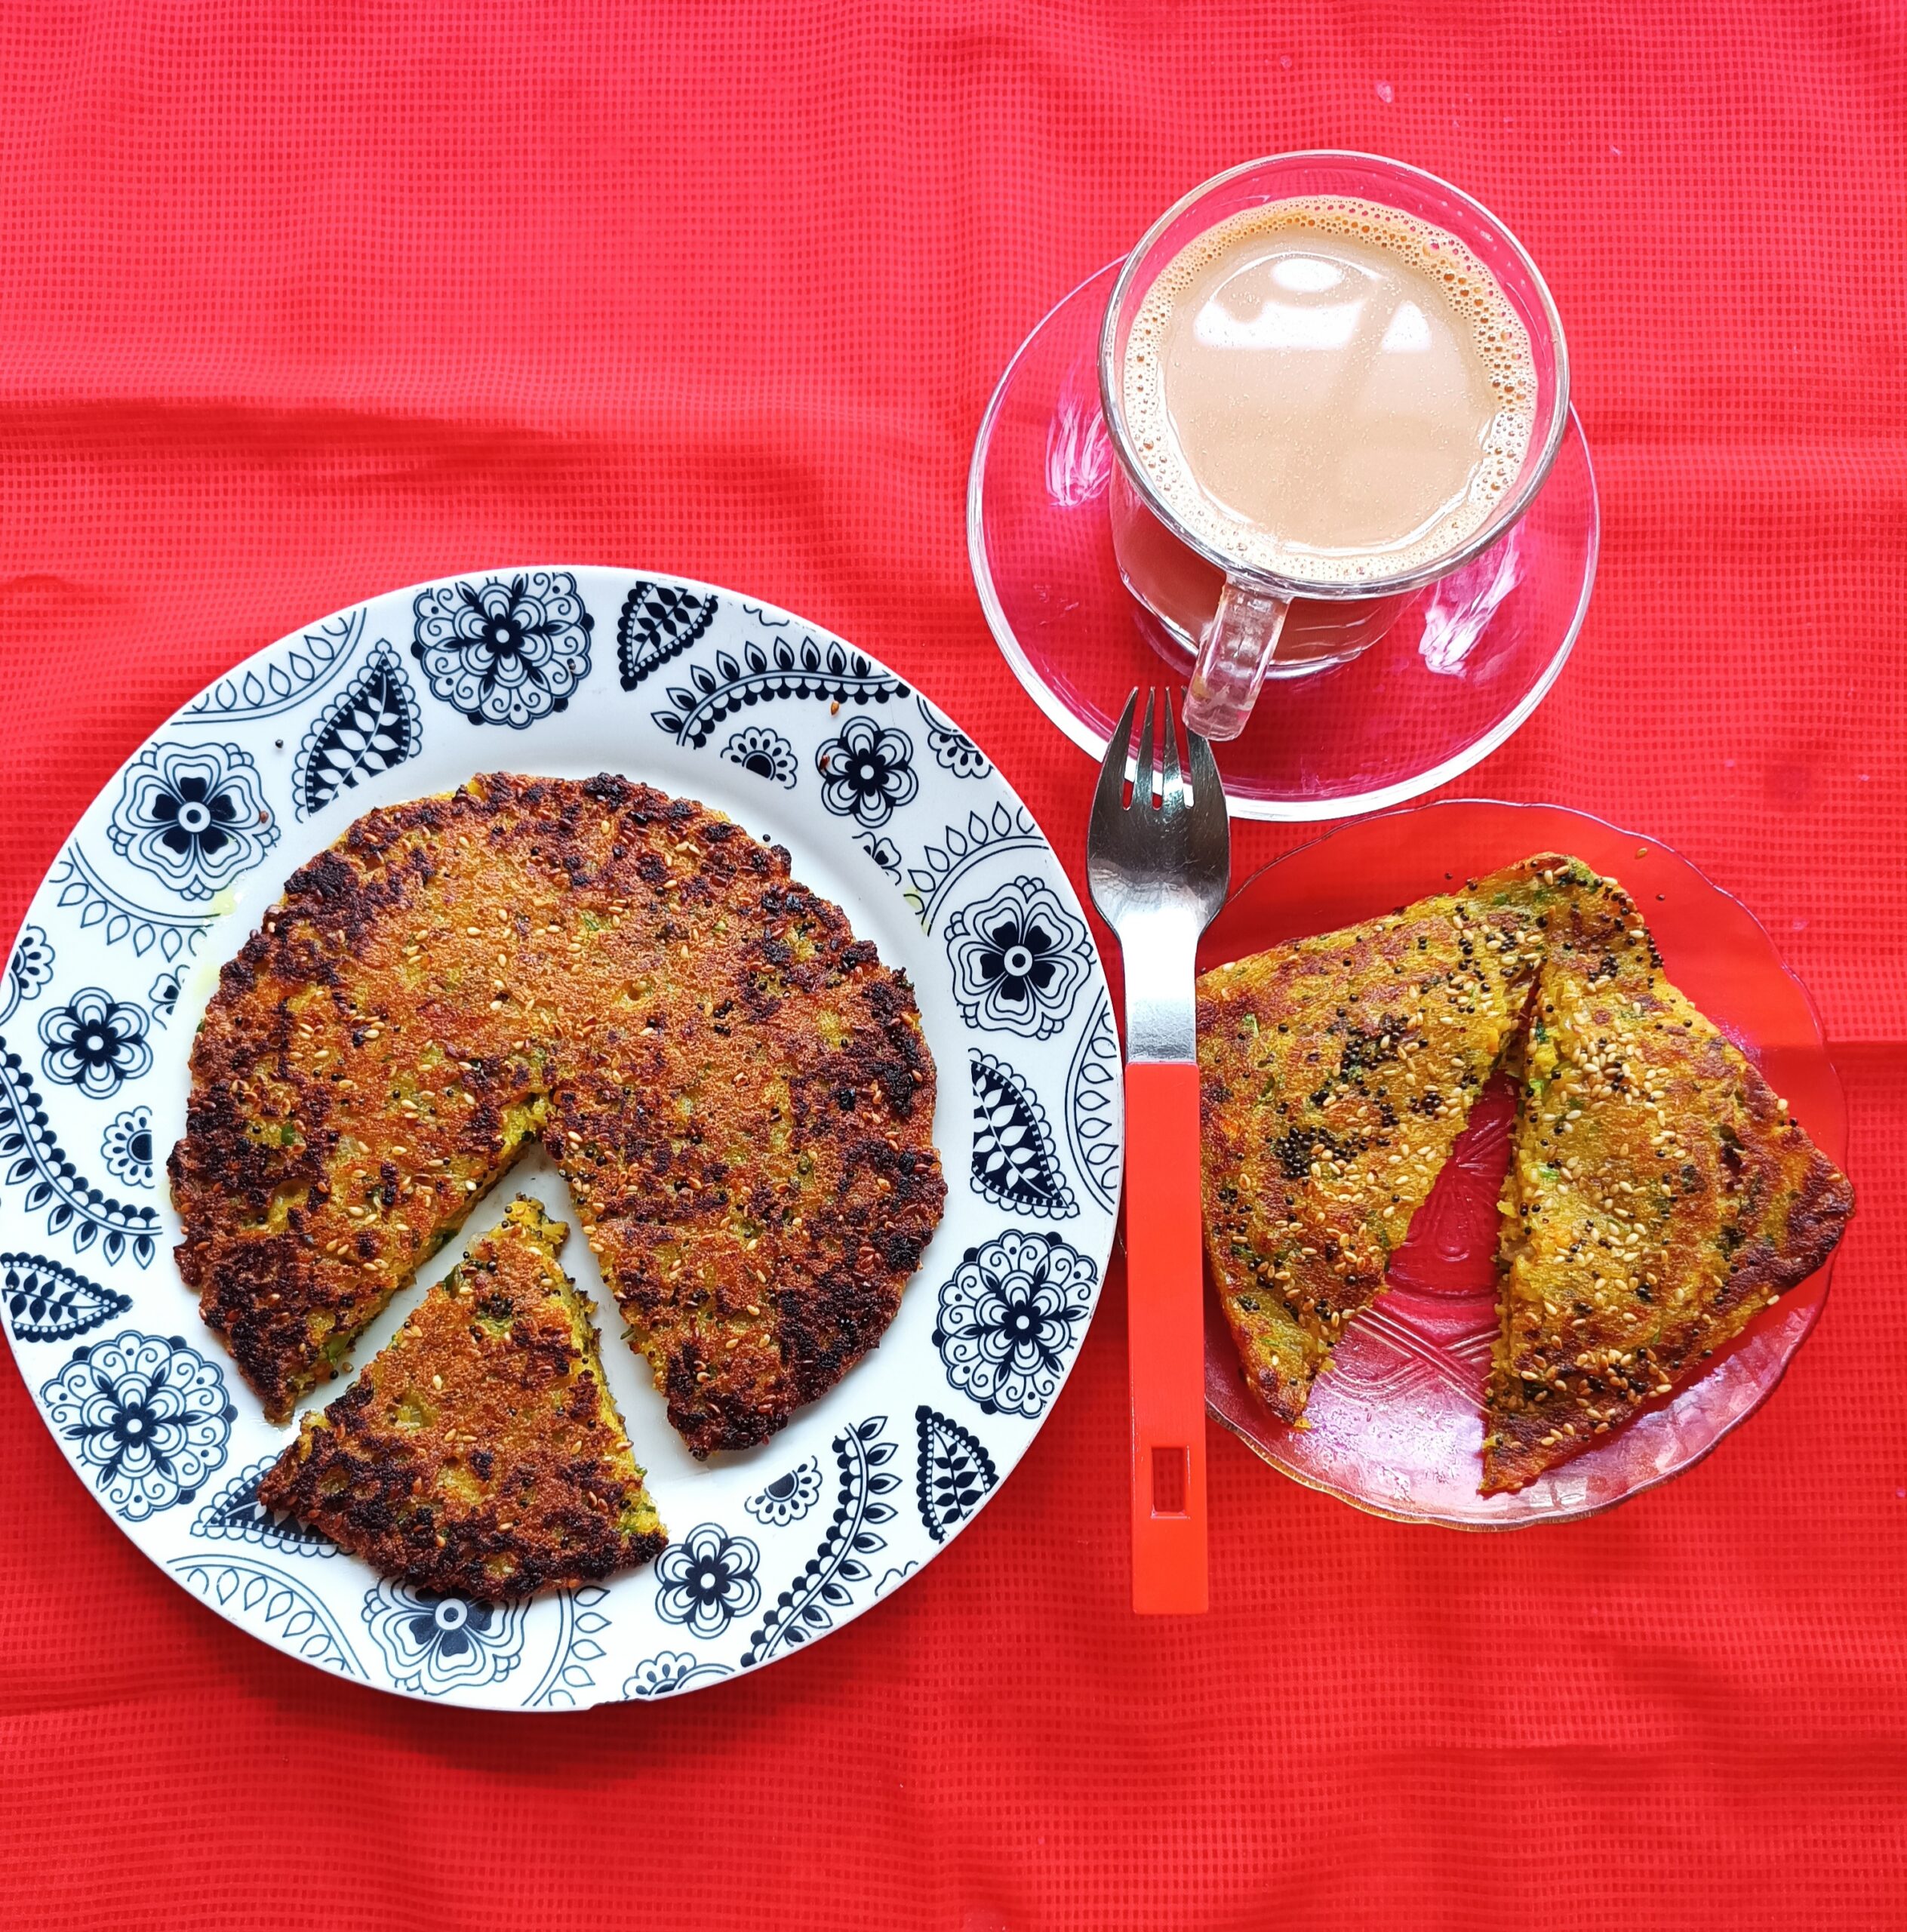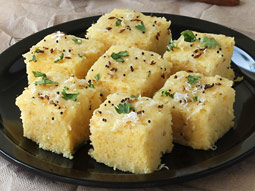
Rava idli recipe with step-by-step pictures.
Soft fluffy rava idli or sooji idli tastes delicious with sambar or coconut chutney
.It is a healthy & tasty dish which all age groups like. This recipe is given to us by Shreya Kapil Selarka


Table of Contents
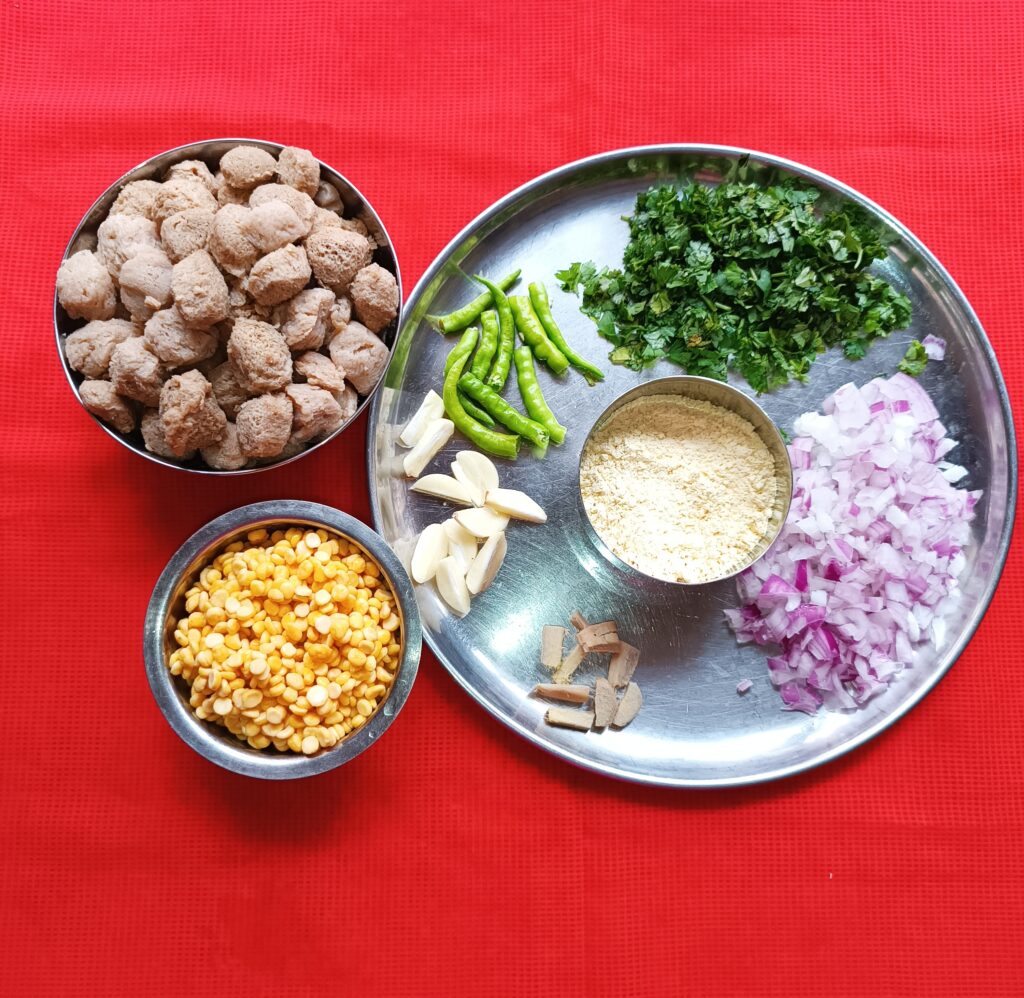
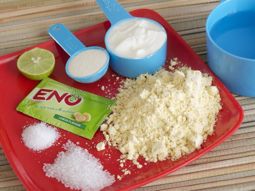
ingredients for palak paneer rava idli
2 cup Fine Rava( Semolina)
1/2 cup Curd
1 cup water
1 cup Palak leaves
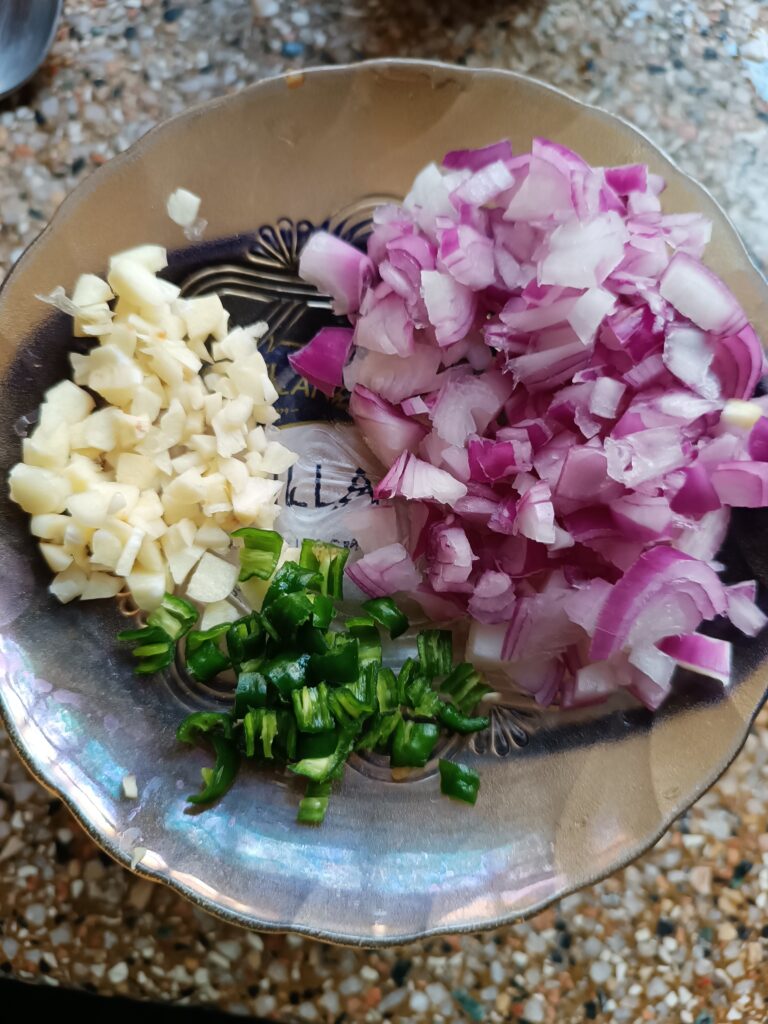
2 green chilli
1 small pc ginger
5-6 garlic cloves
Salt accordingly
2 tsp oil
1 tsp sugar
1 pouch eno (blue)
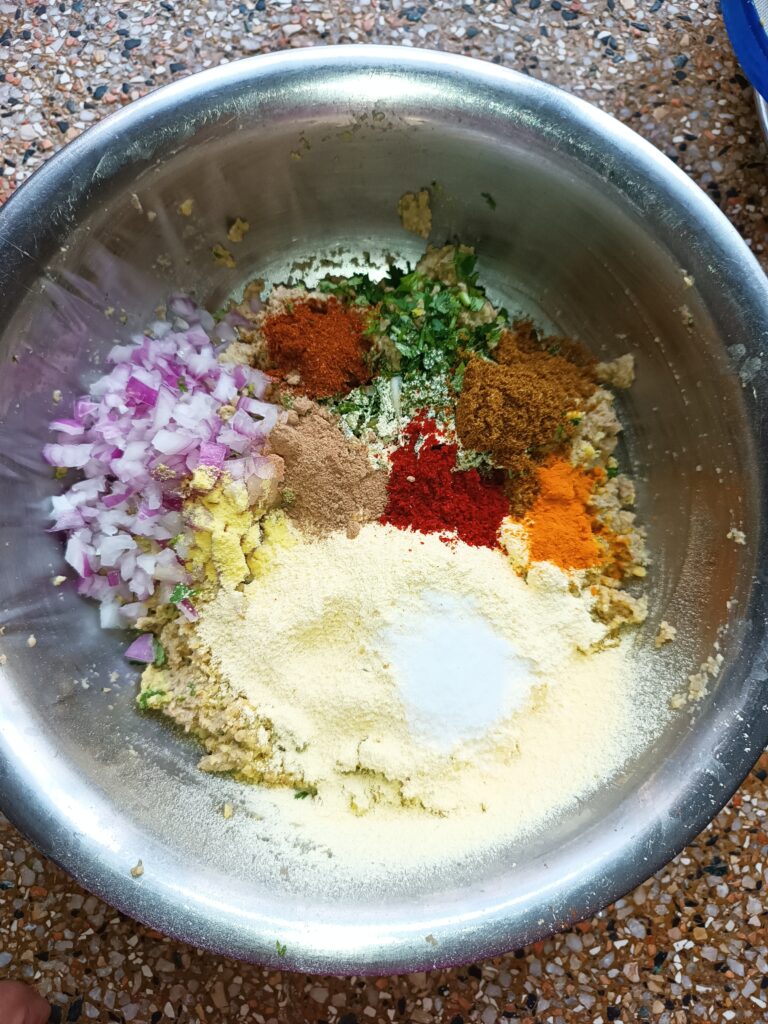
For stuffing
100 gm grated paneer
1 cube of grated cheese
2 tsp finely chopped coriander
1 tsp Chilli flakes
1/4 tsp Chaat masala
1/4 tsp black pepper powder
Salt accordingly
step by step method for palak paneer rava idli
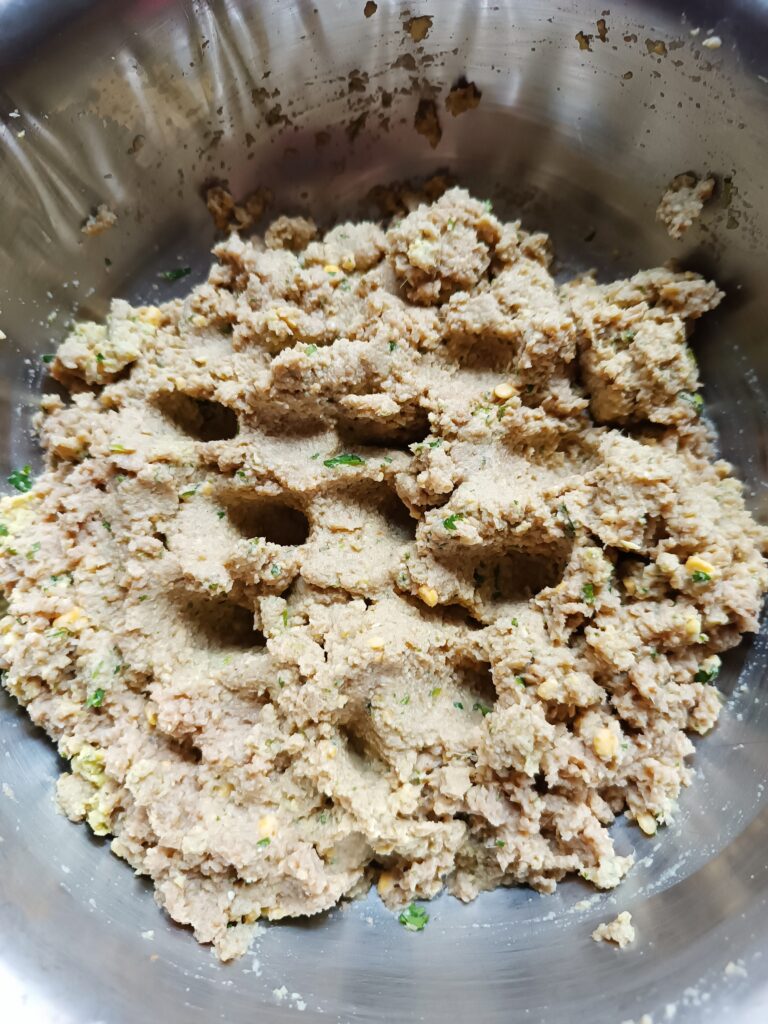
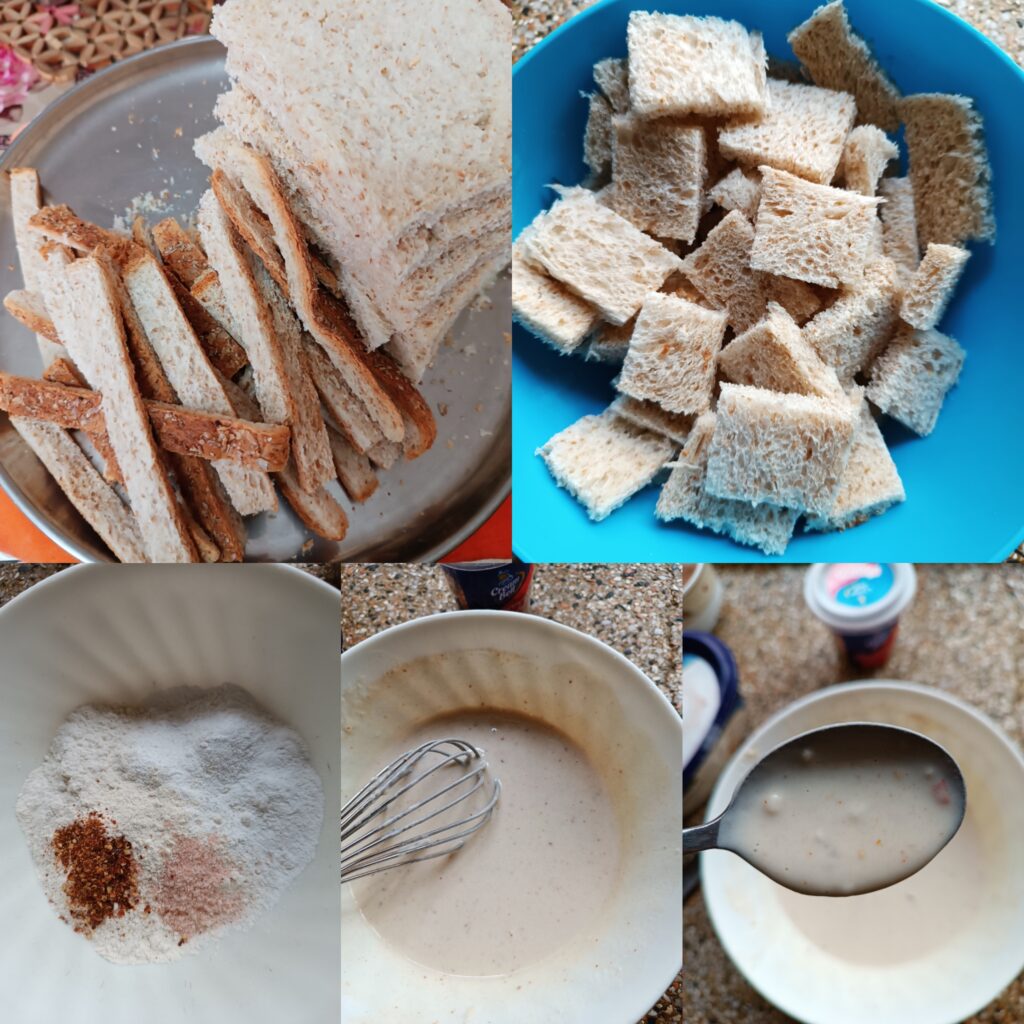
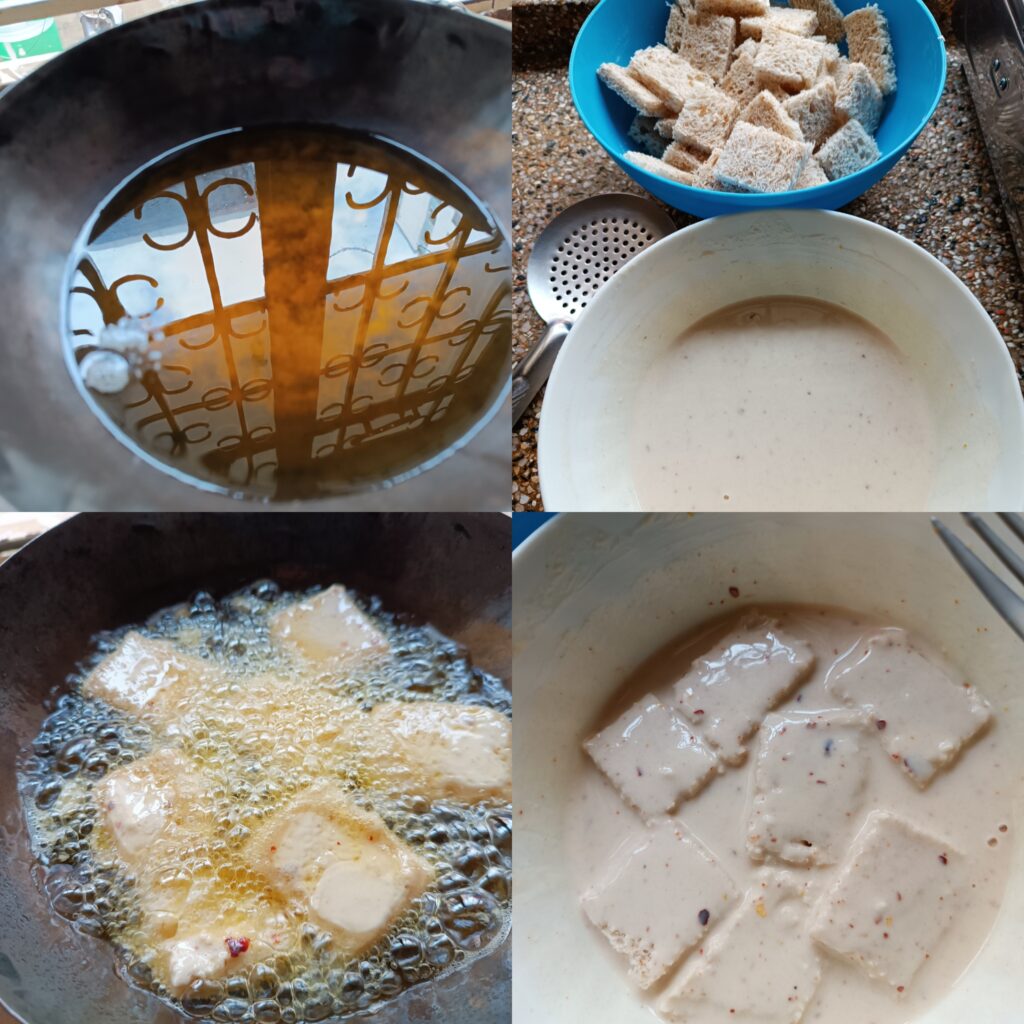
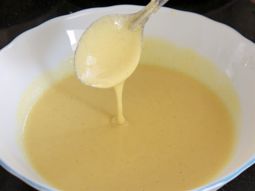
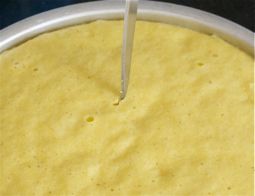
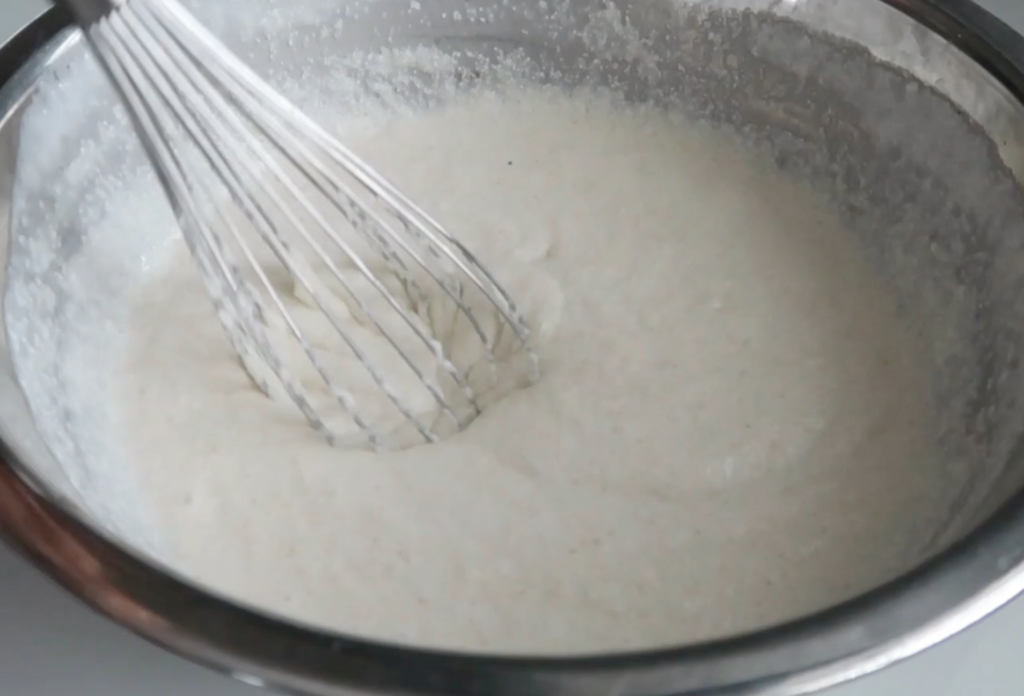
Take a bowl, mix rava, dahi, water properly
( add more water if needed to make semi-thick batter)
keep it aside for half an hour.

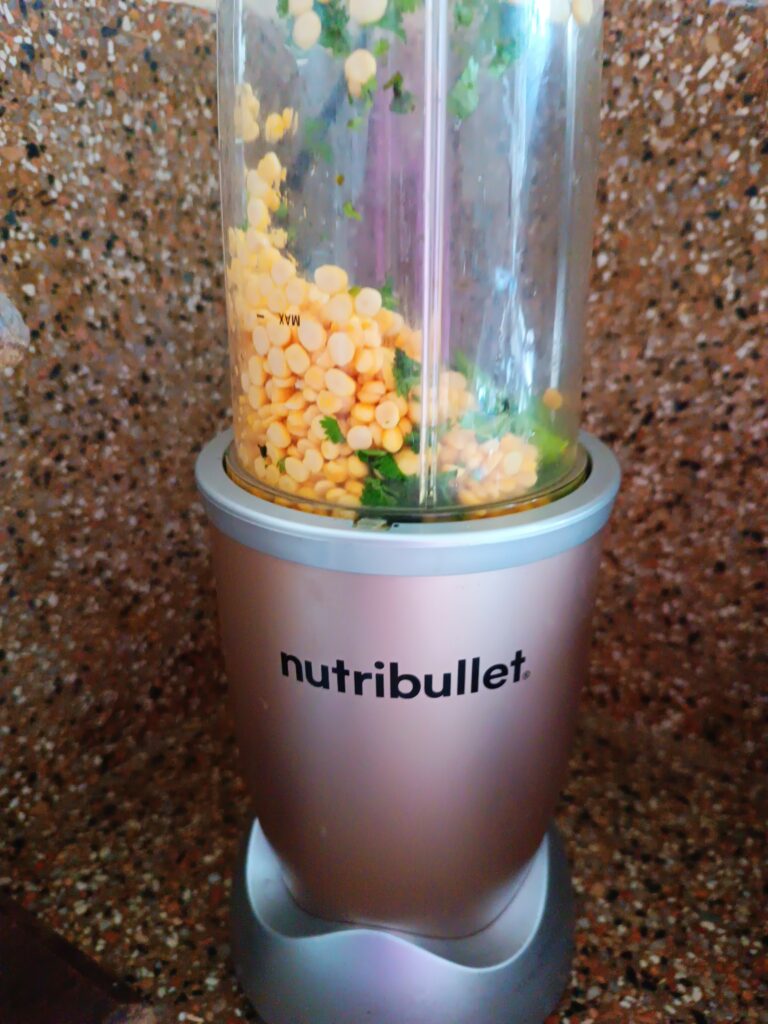
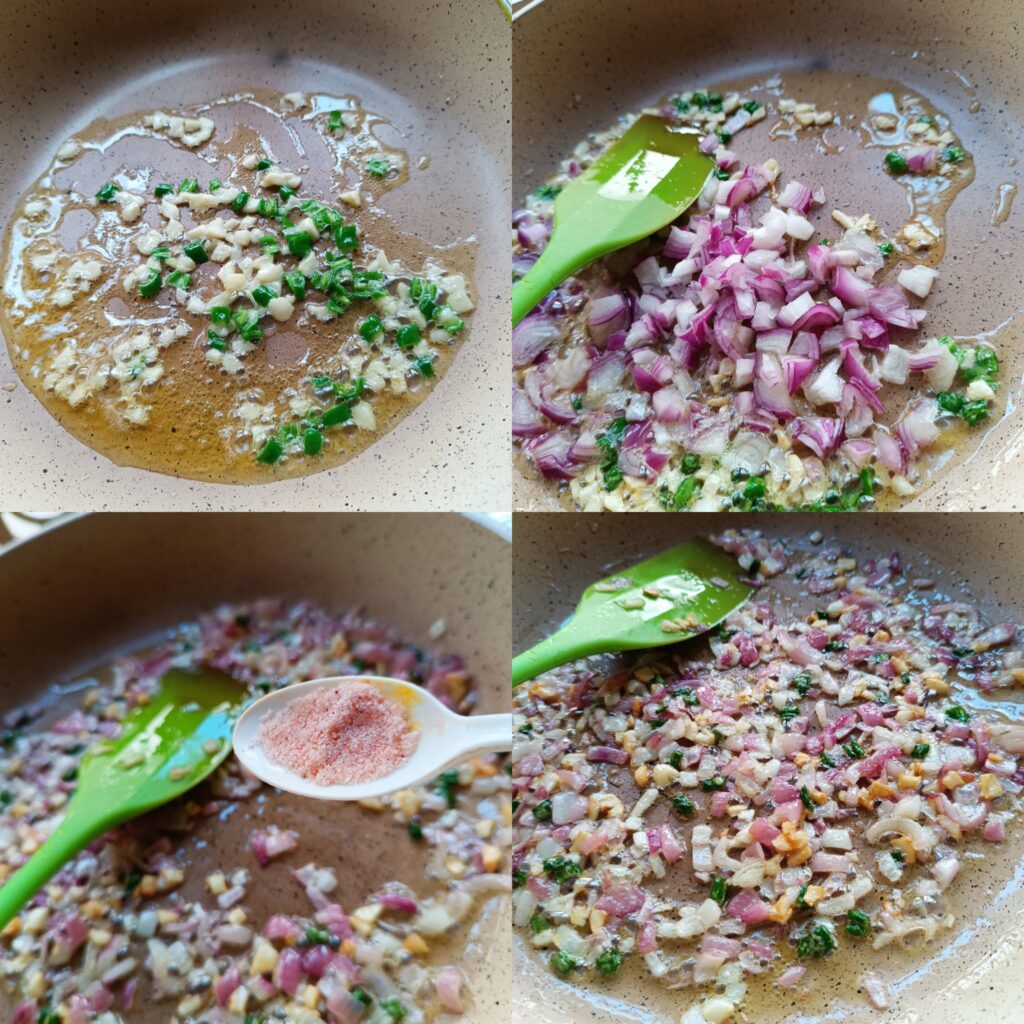
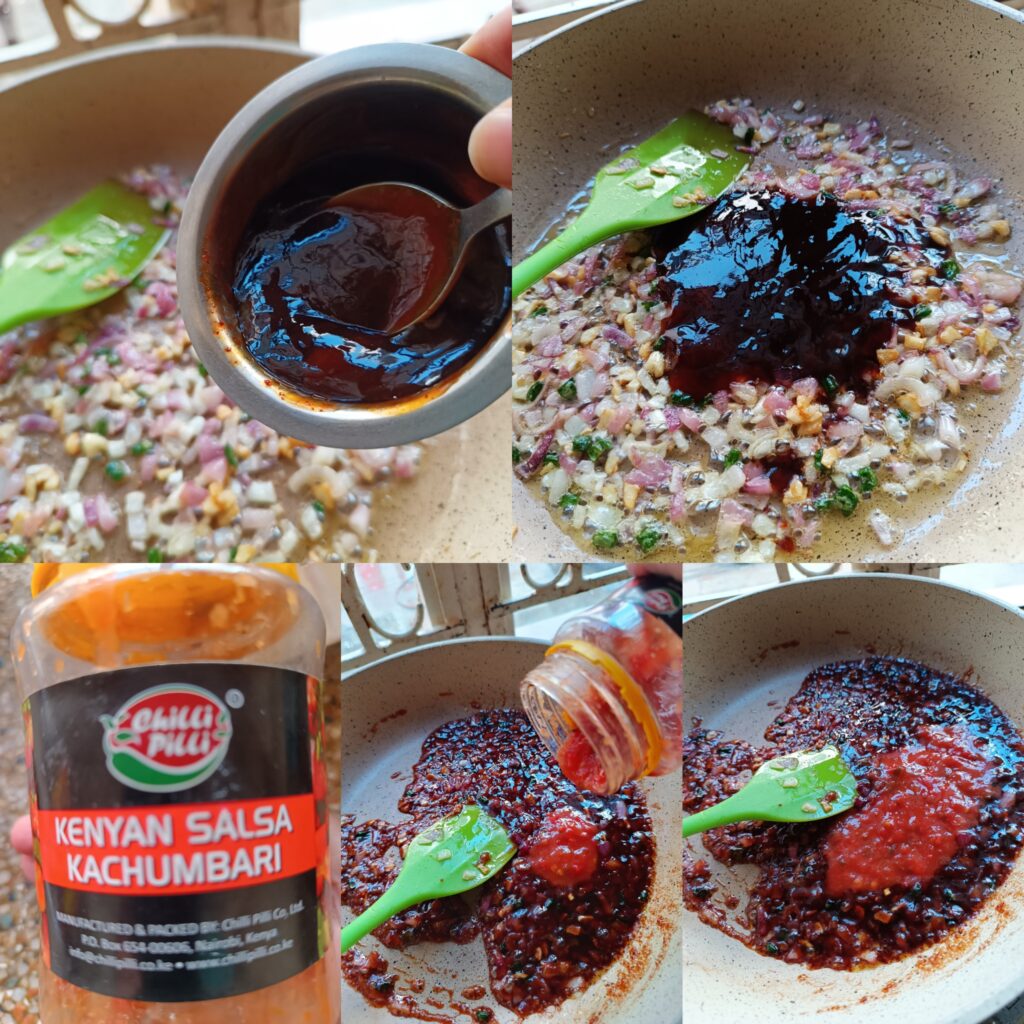
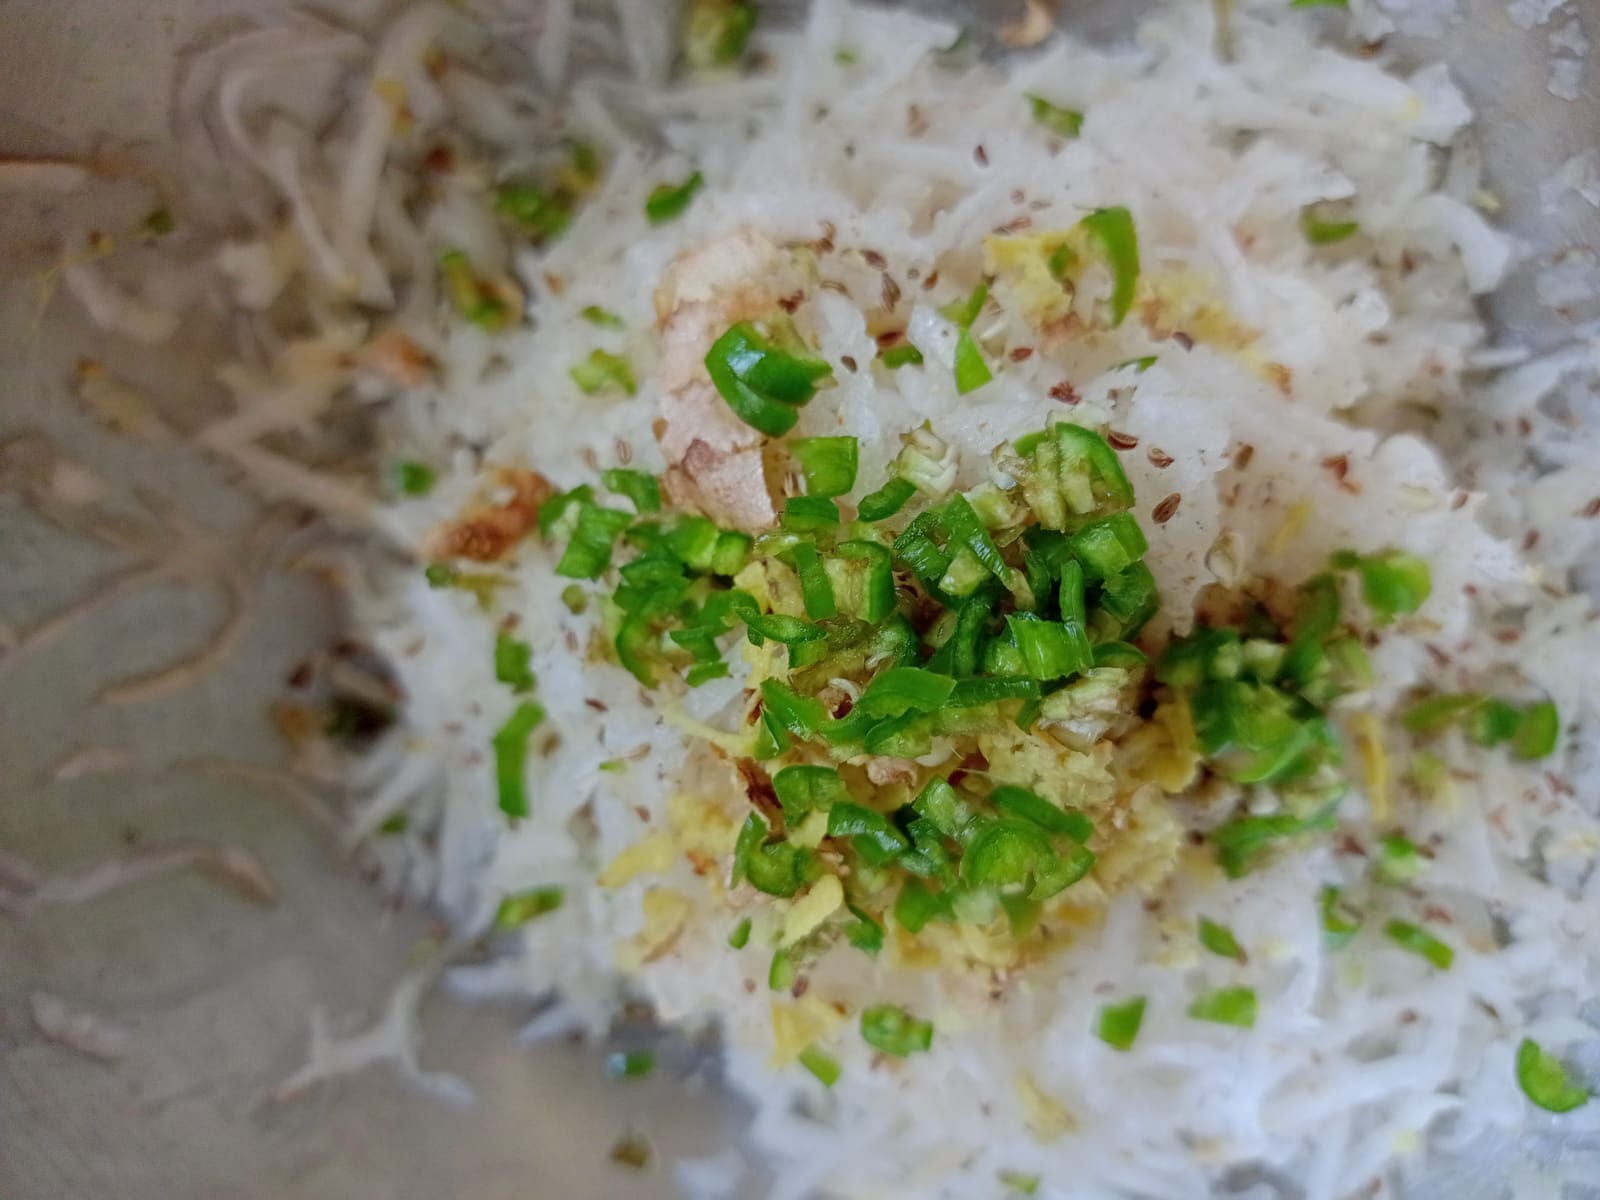
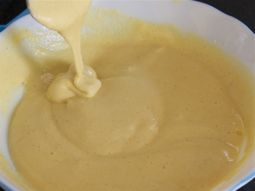
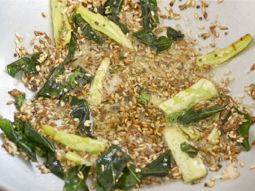
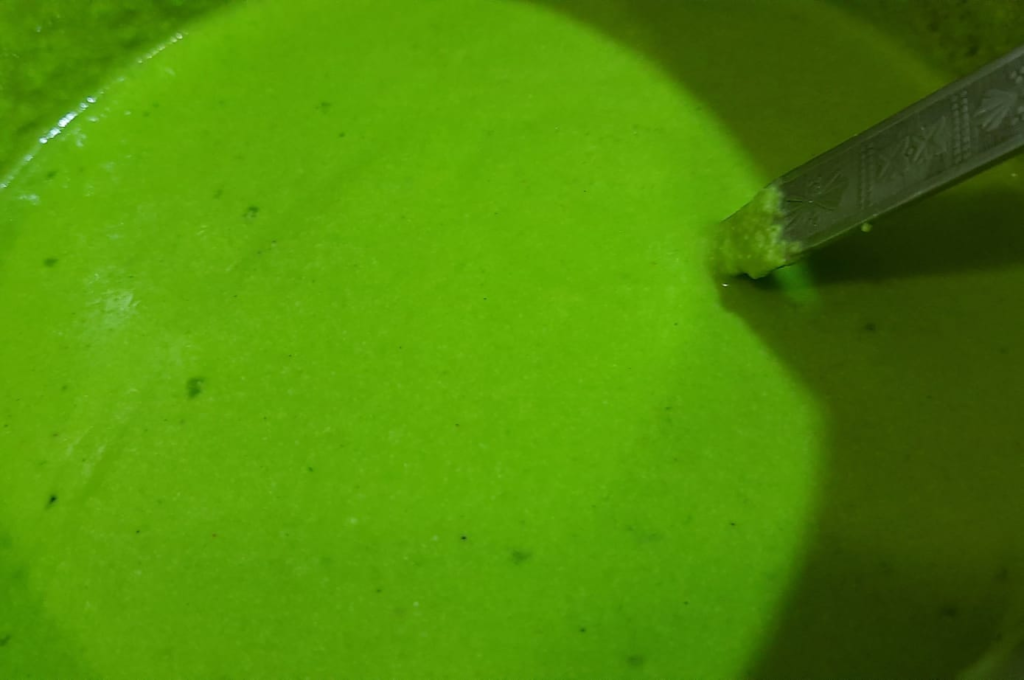
Blanch palak leaves & grind it to a fine paste with garlic, chilli, and ginger. After half an hour, add palak puree, salt, sugar, and oil to the rava batter & mix well.

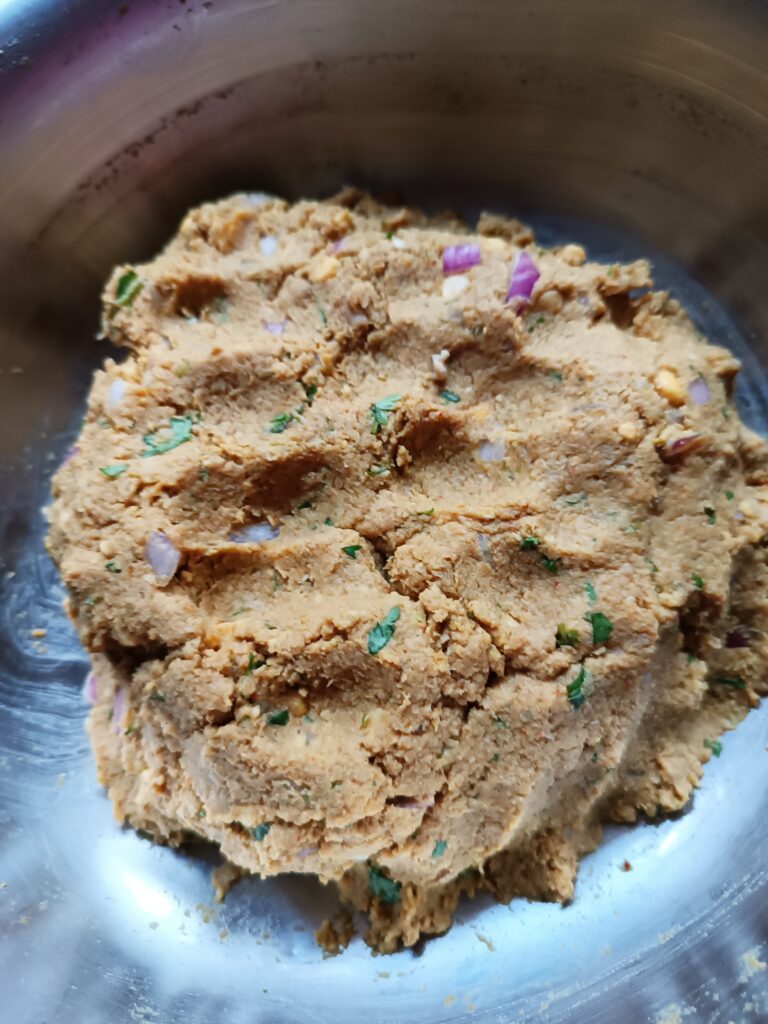
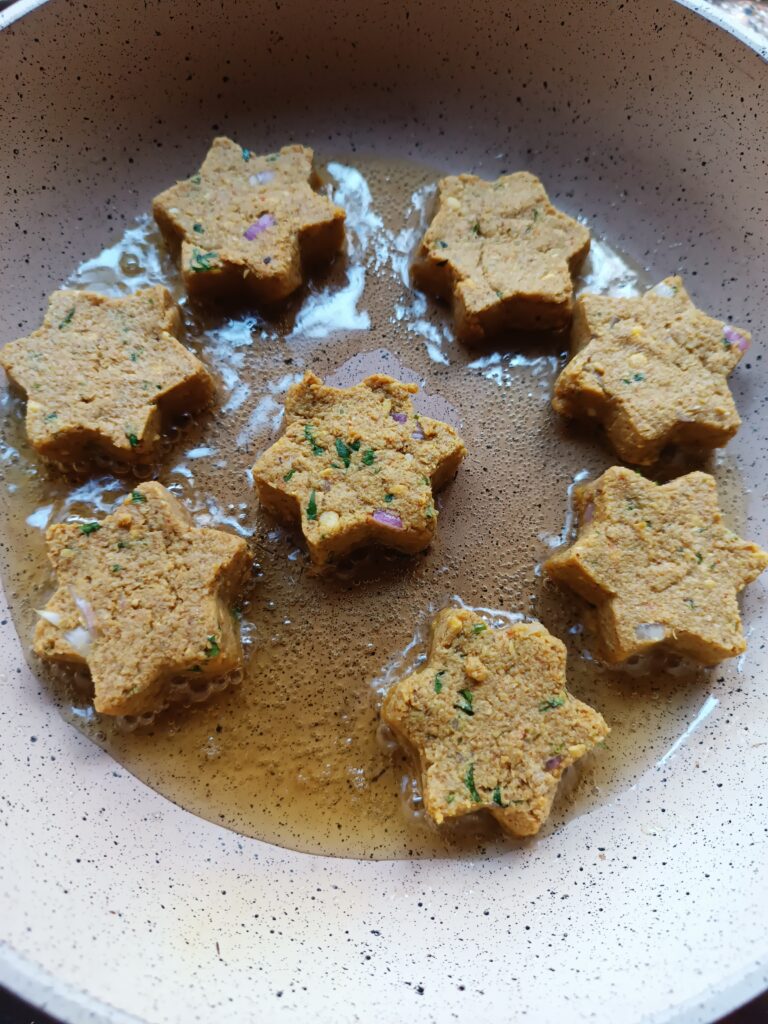
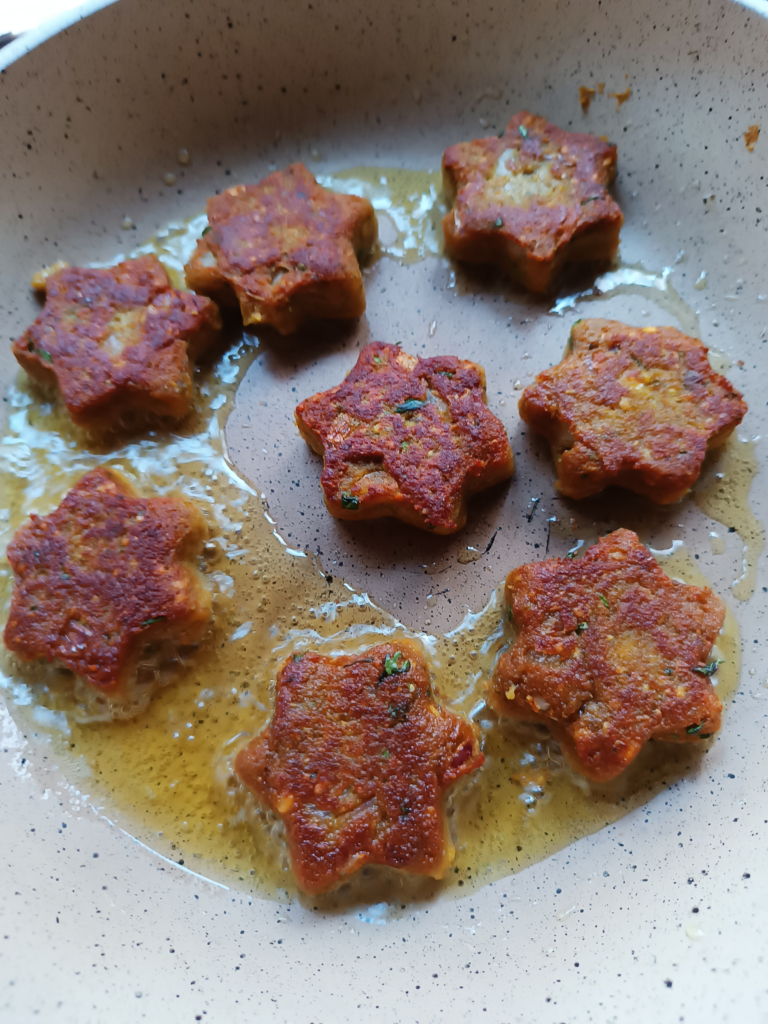
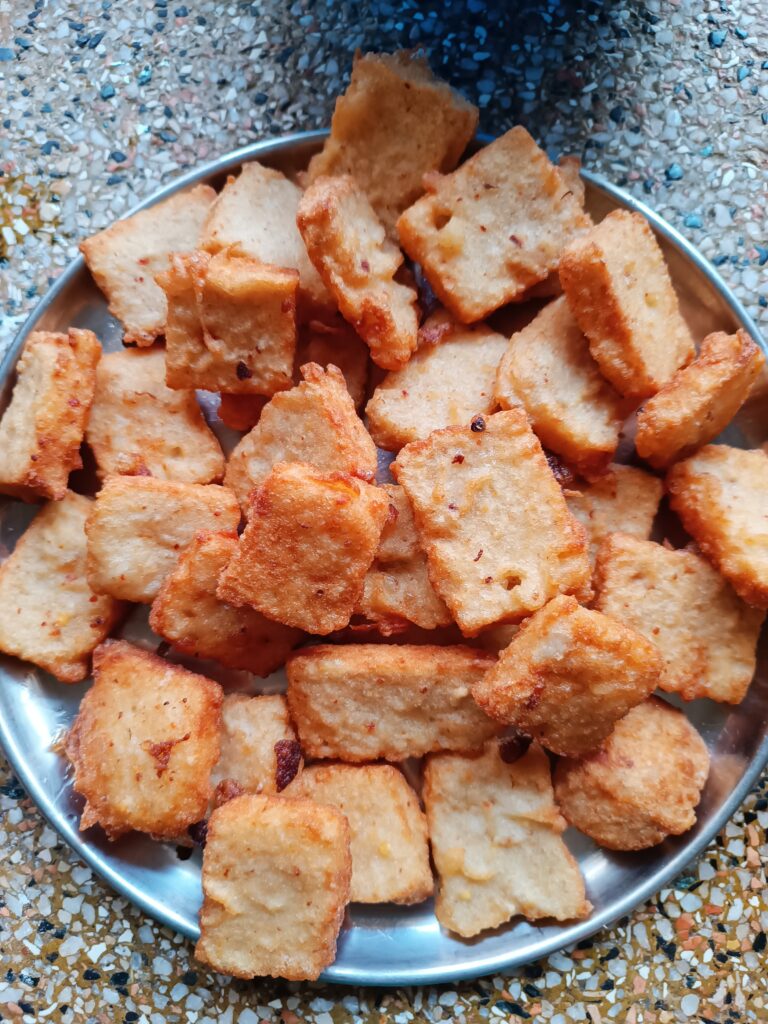
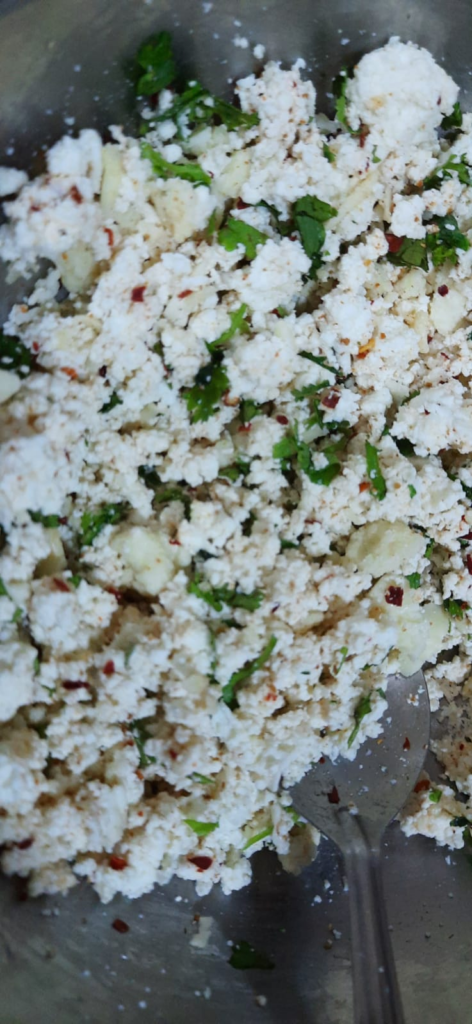
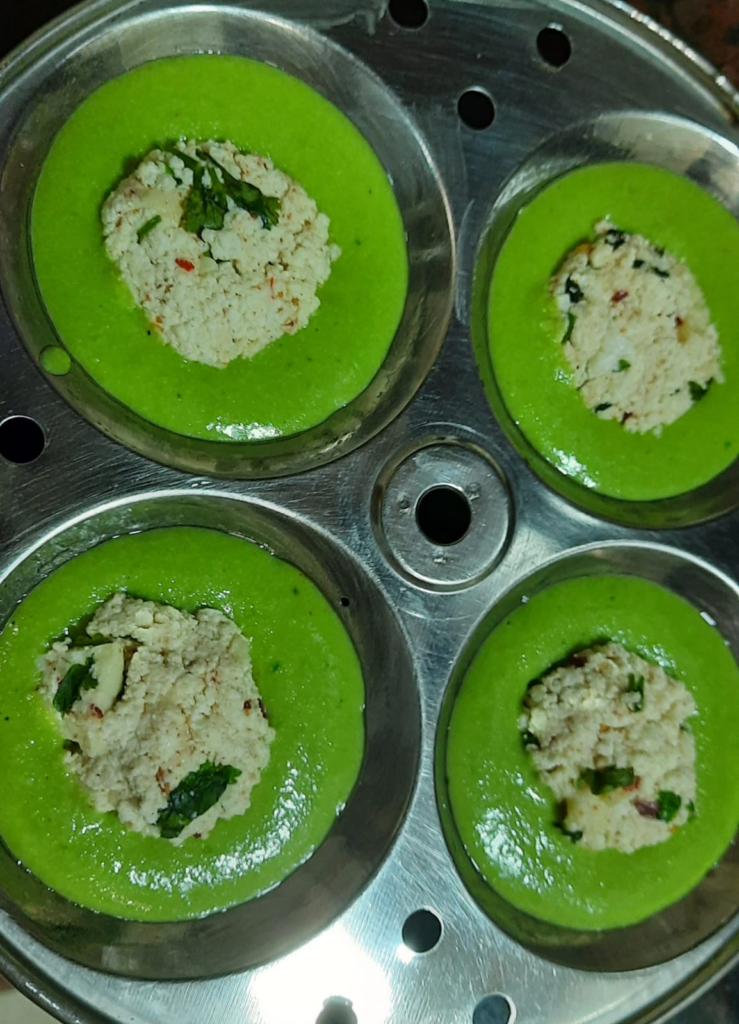
For stuffing mix all ingredients properly & make small flat tikkis from it. Tikkis size should be enough to fit in Idli stand.

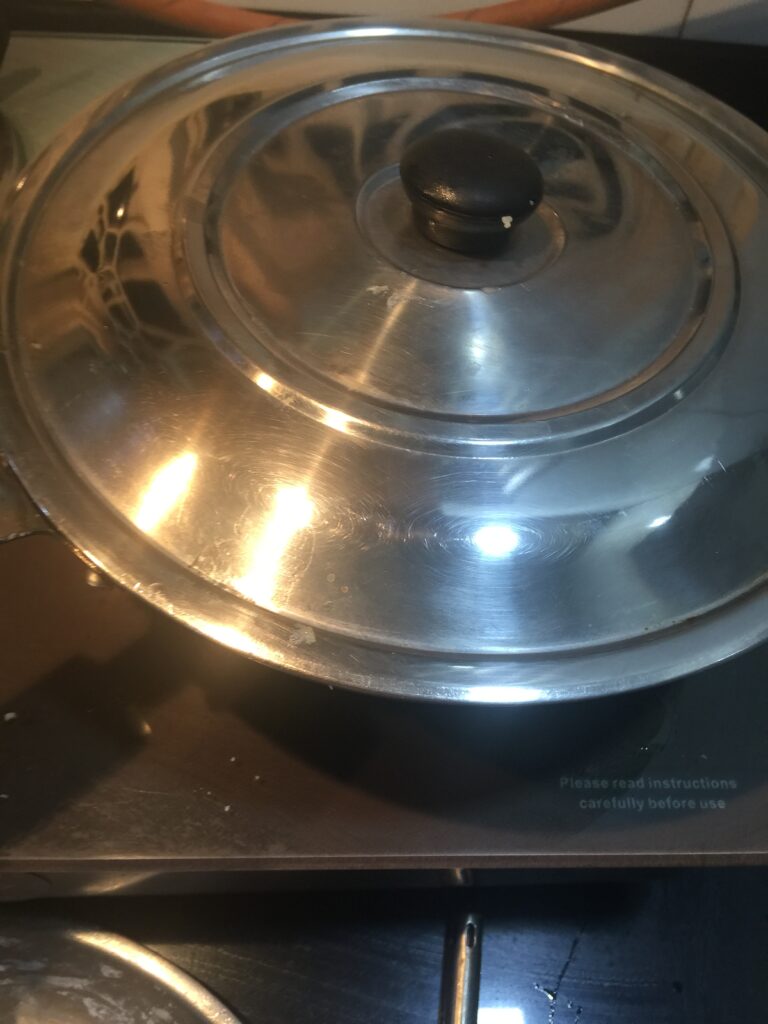
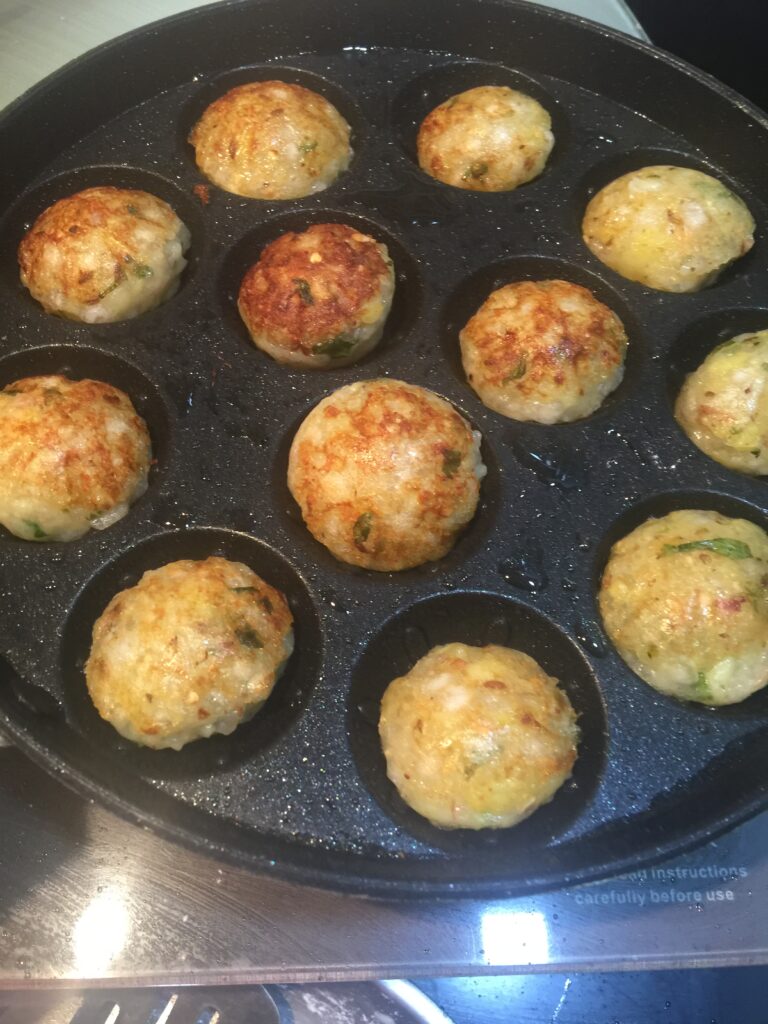
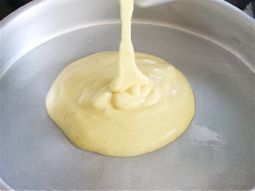
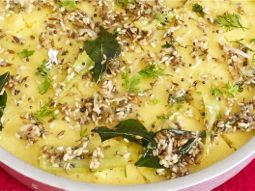
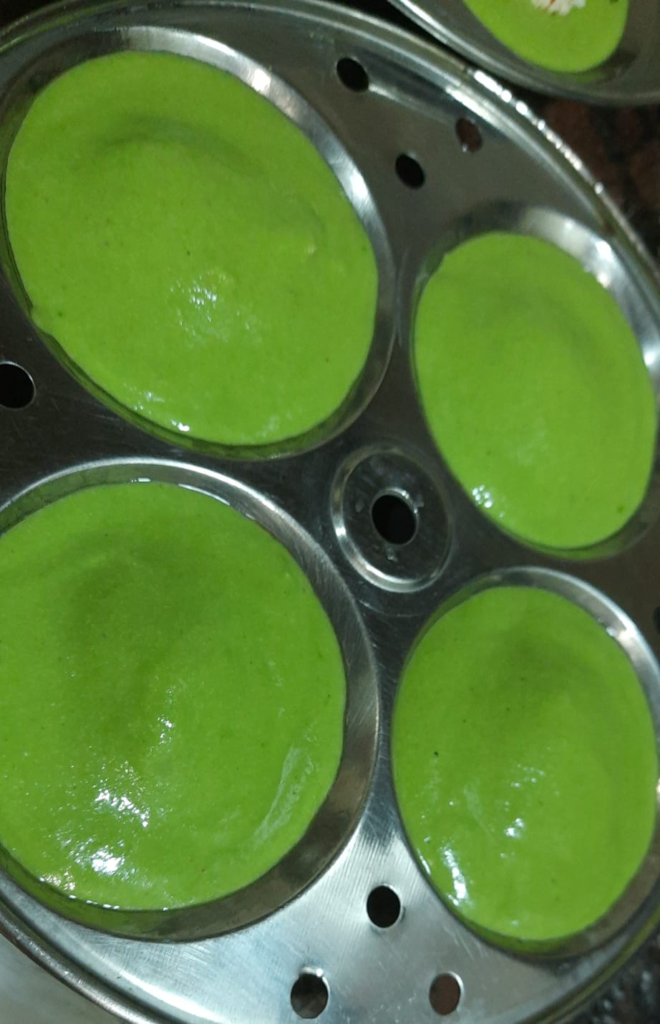
Boil water in an Idli steamer & add eno to the batter & mix well. Grease Idli plates with oil. Fill Idli plates half, place paneer tikki in the middle & again cover it with batter.

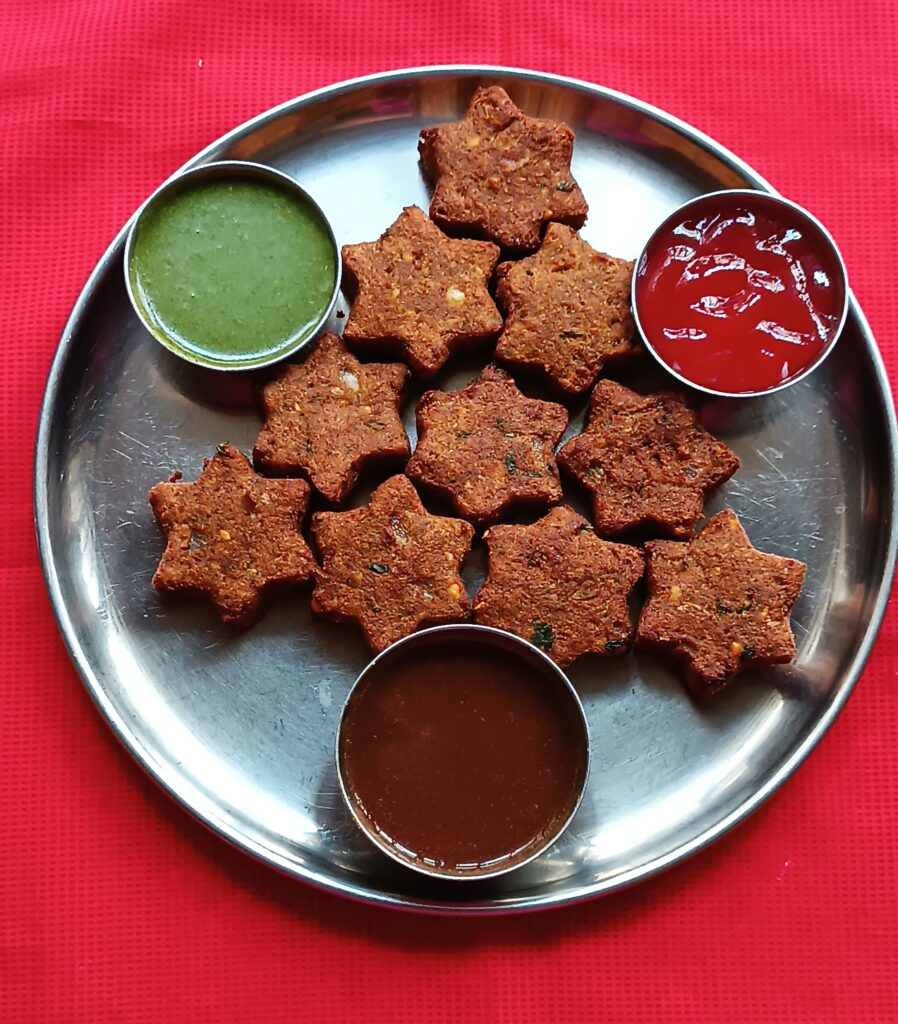
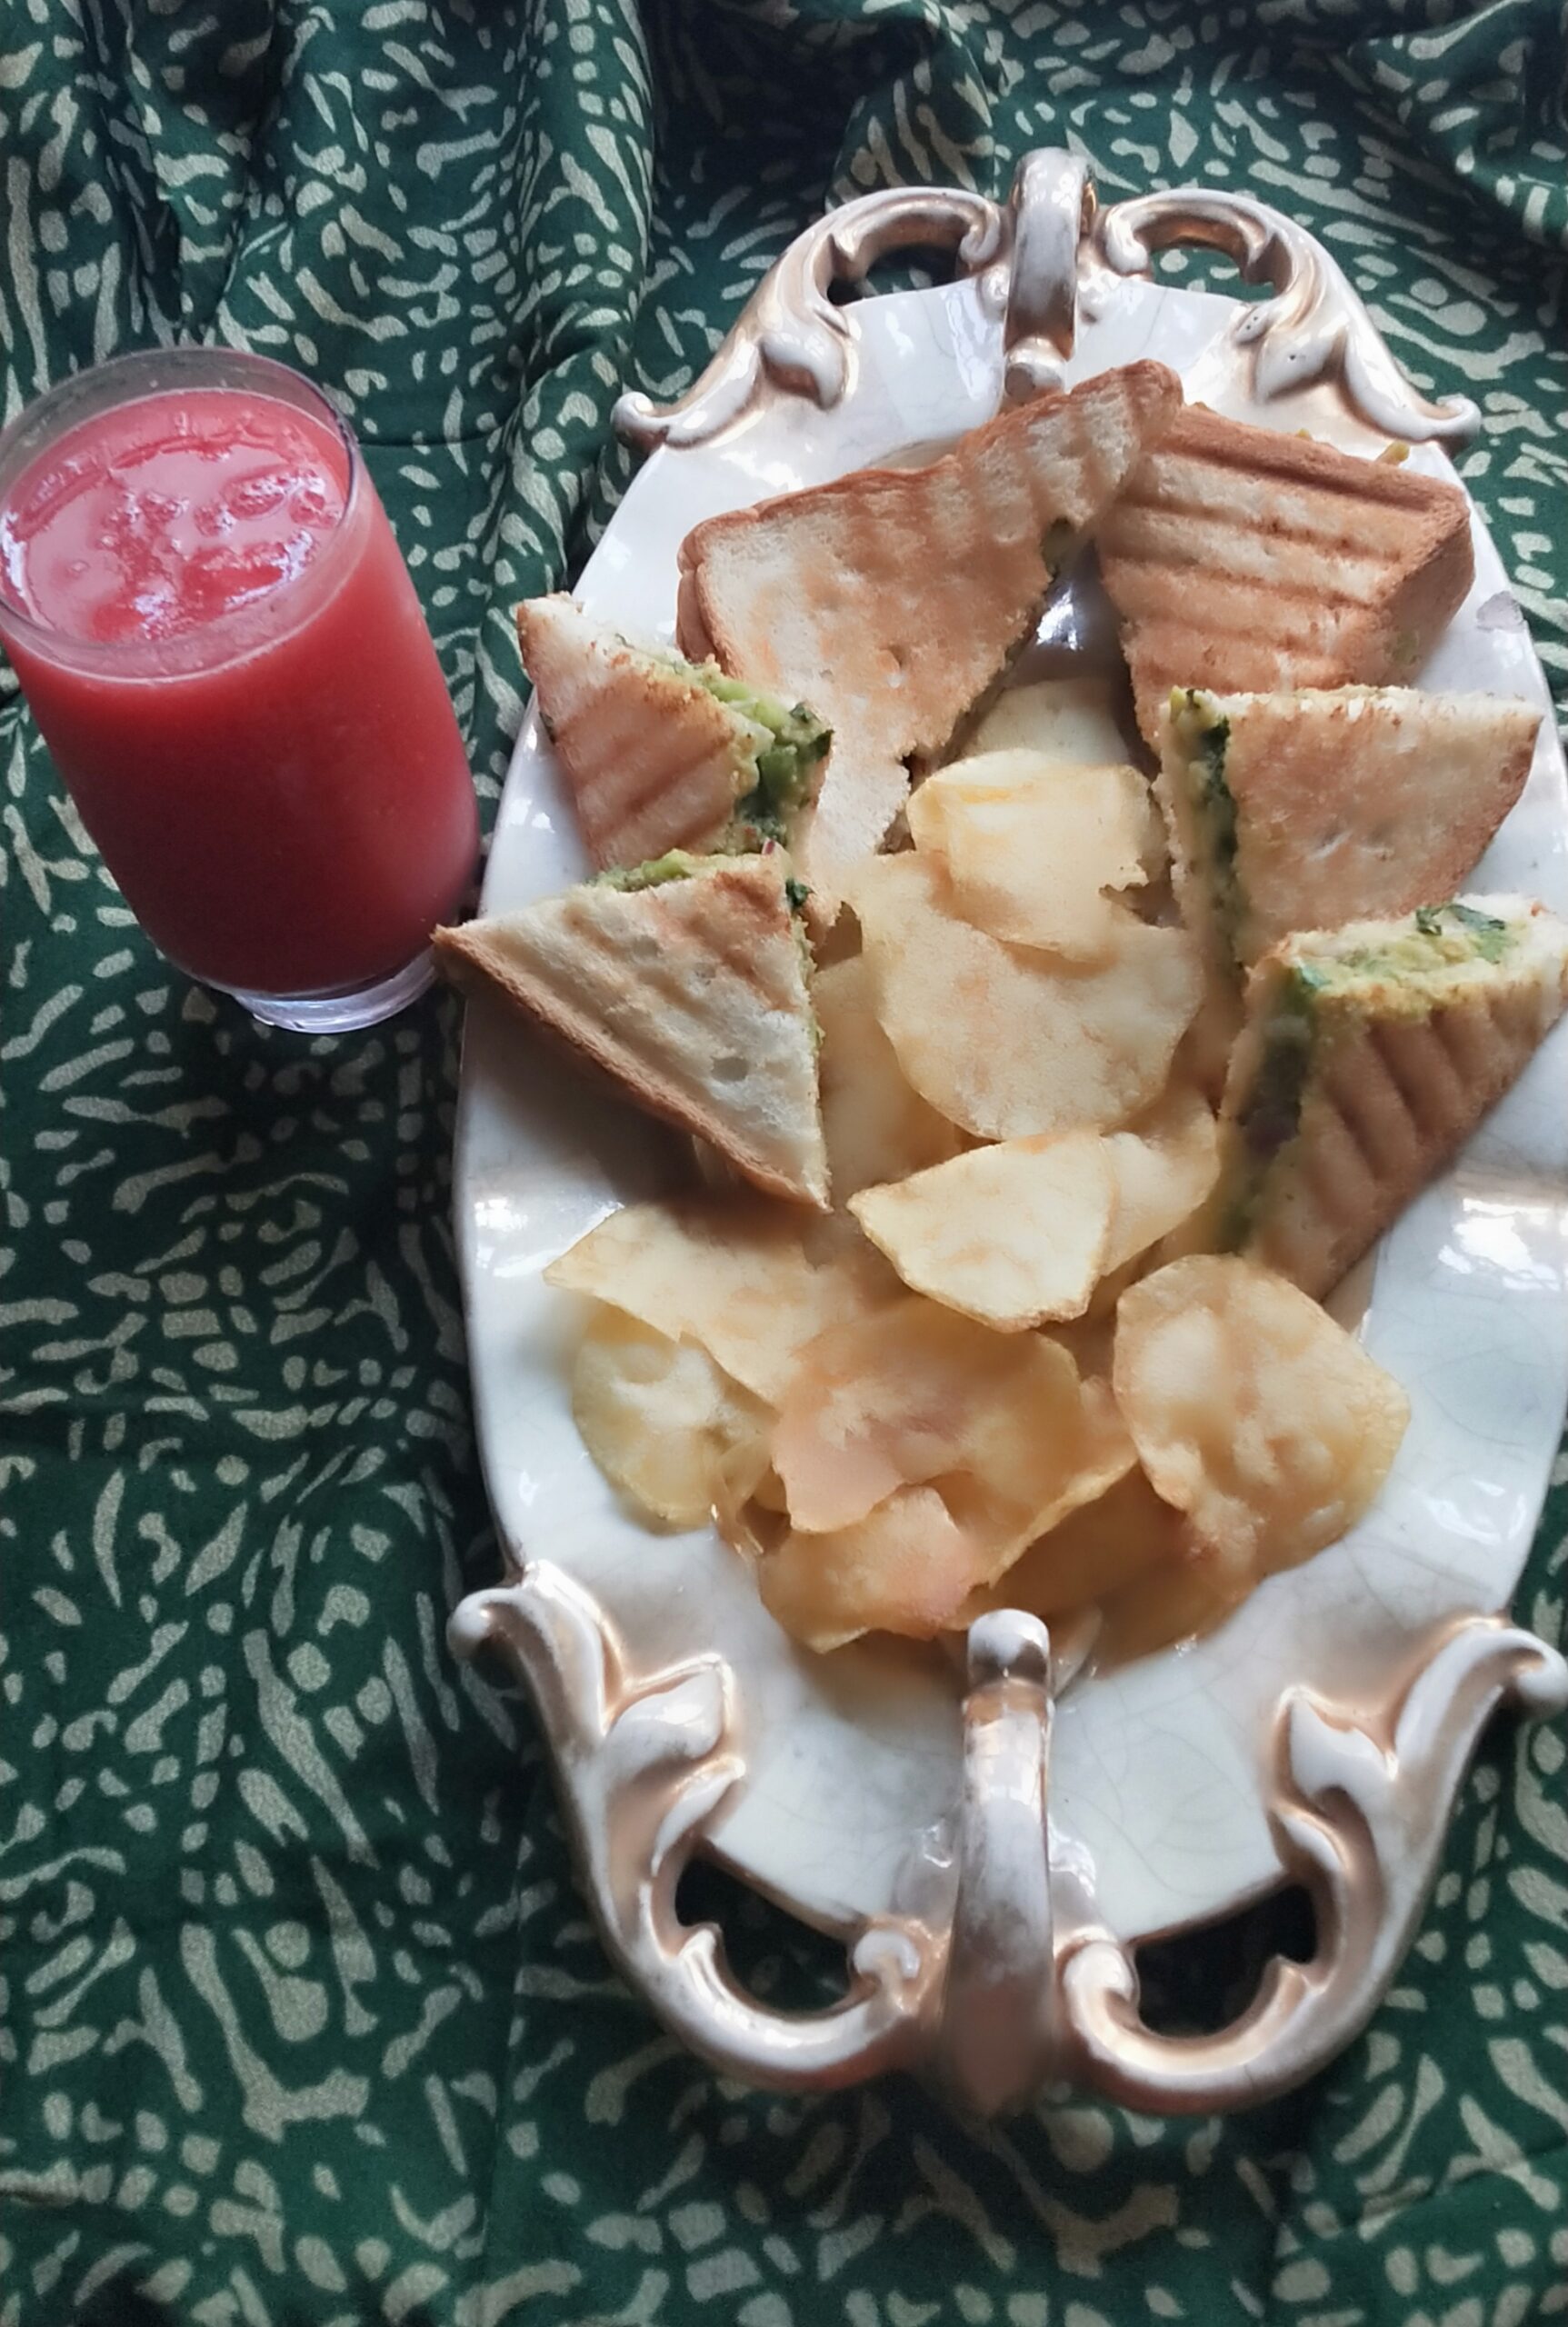
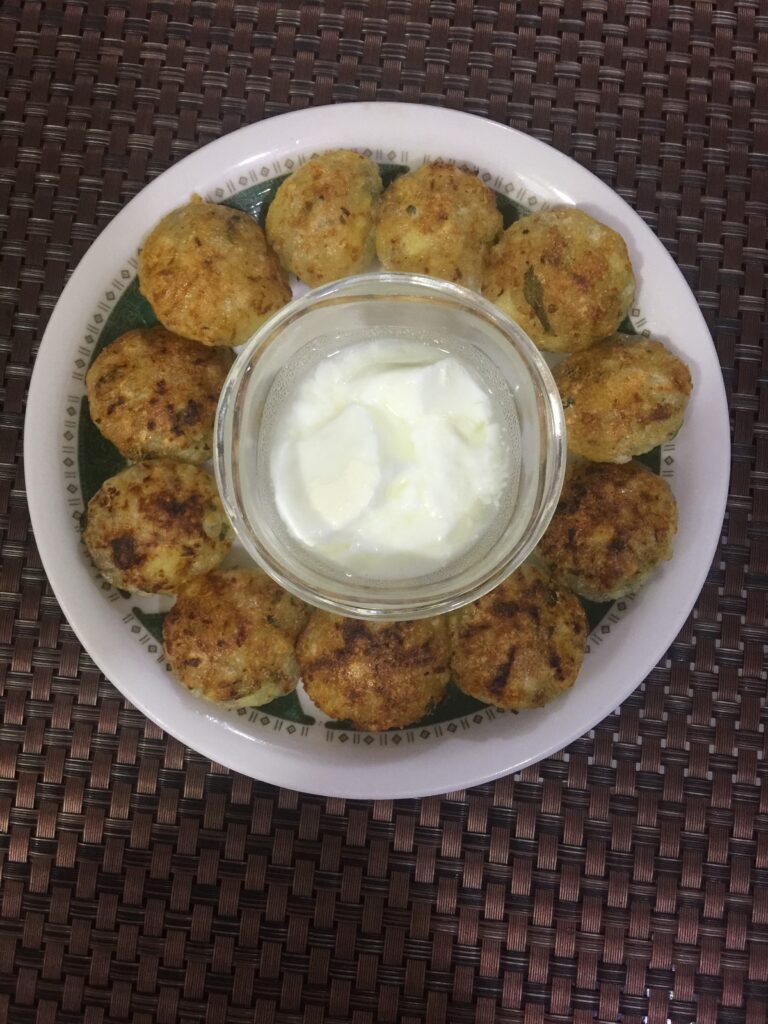
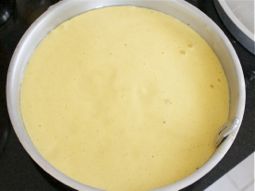
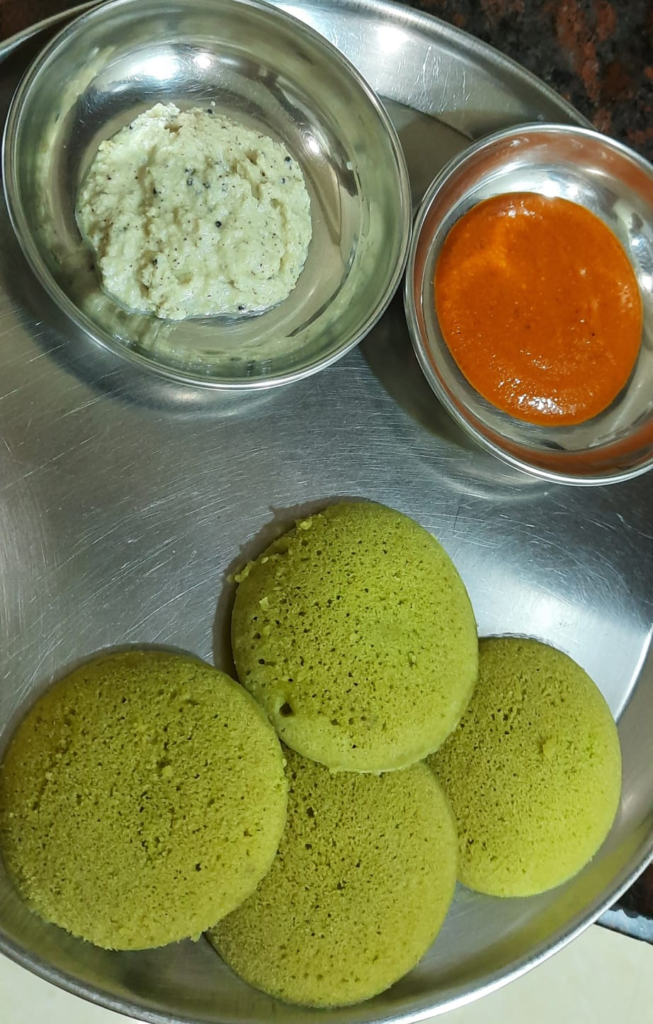
Steam idli for around 10-15 minutes. Once done, remove Idly plates from the steamer & allow it to cool for 2 minutes. Unmould & Serve hot with coconut chutney, tomato garlic chutney or any chutney or ketchup of your choice.

conclusion
whenever you make idli for snacks or breakfast, just keep in mind that you can make it as healthy and rich as you like. Don’t make it simple, but whenever you make sambhar with idly, please keep it normal. Thank you for reading this recipe
also read
દૂધ પનીર નો કોપરપાક : સદાબહાર સ્વીટ
Canada માં કમાણી કરવી હવે સરળ બનશે, PGWP વર્ક પરમિટના નિયમ બદલાયા, જાણો કોને મળશે લાભ?