

Dudhi Bateta na Thepla
આ દૂધી બટેટા ના થેપલા રેસીપી સુપરસહેલિયાને સંગીતા વ્યાસ દ્વારા આપવામાં આવી છે


તેણી કહે છે: પાણી એડ કર્યા વગર લોટ બાંધ્યો છે એટલે મુસાફરી માં લઇ જવા માટે બેસ્ટ. વળી સોફ્ટ અને મસાલેદાર છે તો એકલા પણ ખાવા હોય તો ખાઈ શકાય..
દૂધી બટેટા ના થેપલા જરૂરી ઘટકો Dudhi Bateta naThepla Ingridients
૧.૫ કપ ઘઉં નો લોટ
૧/૪ કપ બેસન
૧/૪ કપ બાજરી નો લોટ
૧૫૦ ગ્રામ દૂધી ની પેસ્ટ
૧ બટેટા નું છીણ
૩ ટેબલસ્પૂન ફ્રેશ કોથમીર
૨ ટેબલસ્પૂન આદુ મરચા લસણ ની પેસ્ટ
૨ ટેબલસ્પૂન તેલ મોણ માટે
૨ ટેબલસ્પૂન ગોળ
૨ ટેબલસ્પૂન તલ
૩ ટેબલસ્પૂન દહીં
મીઠું સ્વાદ અનુસાર
૧ ટેબલસ્પૂન મરચું પાવડર
૧ ટેબલસ્પૂન ધાણાજીરું પાવડર
૧ ચમચી હળદર પાવડર
૧ ચમચી જીરૂ
૧ ચમચી અજમો
૧/૨ ચમચી હિંગ
જરૂર મુજબ તેલ, થેપલા શેકવા
દૂધી બટેટા ના થેપલા બનાવવા માટે પગલાં Dudhi Bateta naThepla recipe instructions
STEP 1
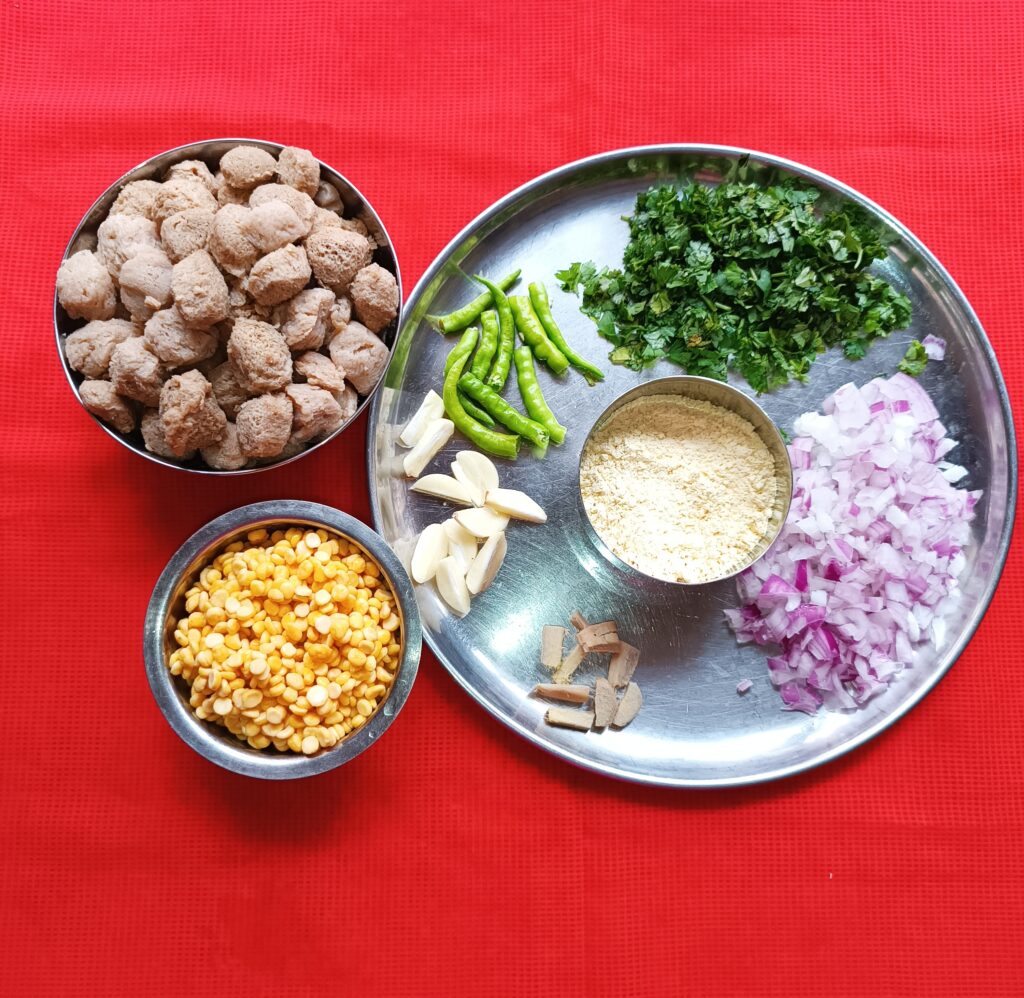
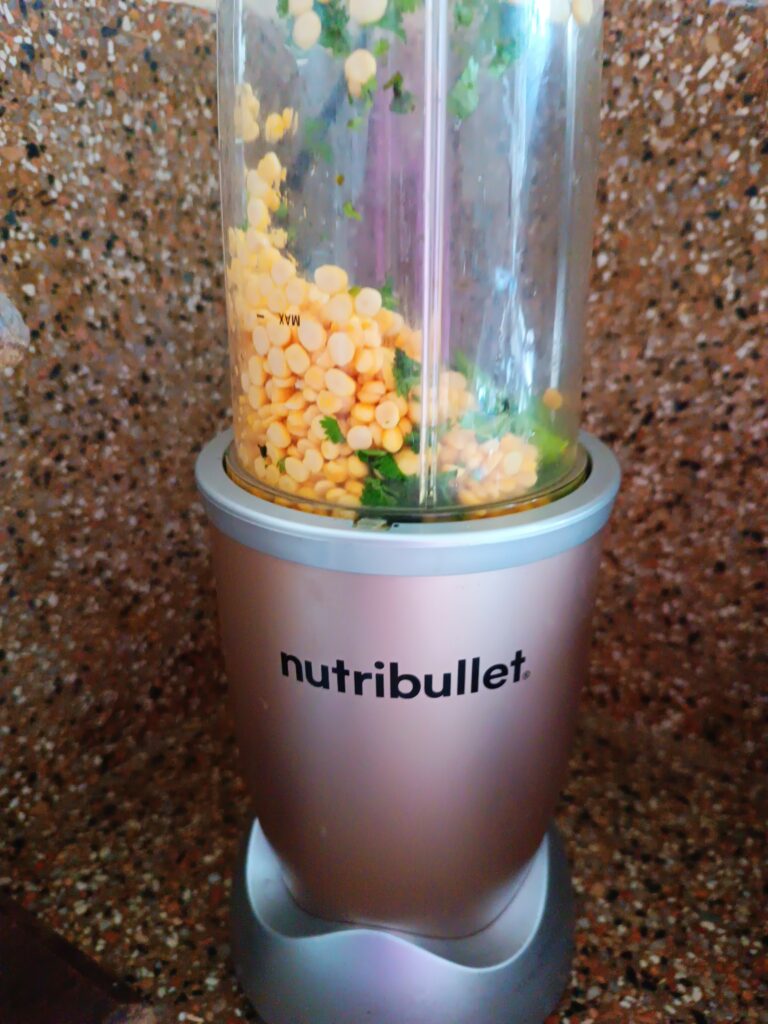
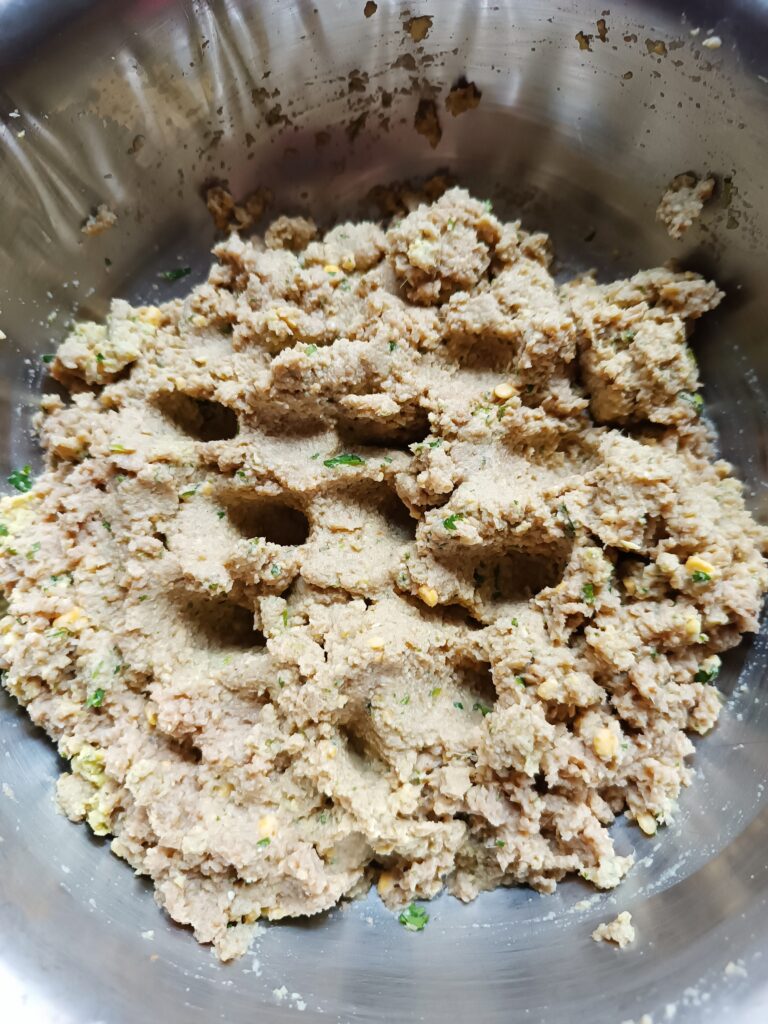
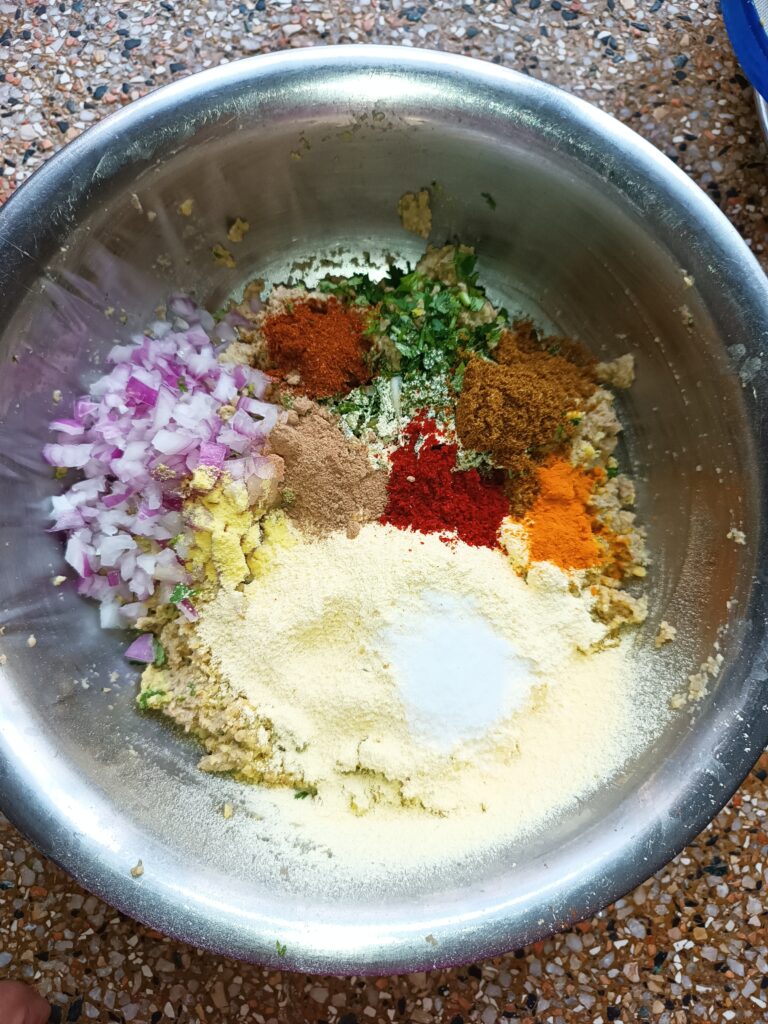
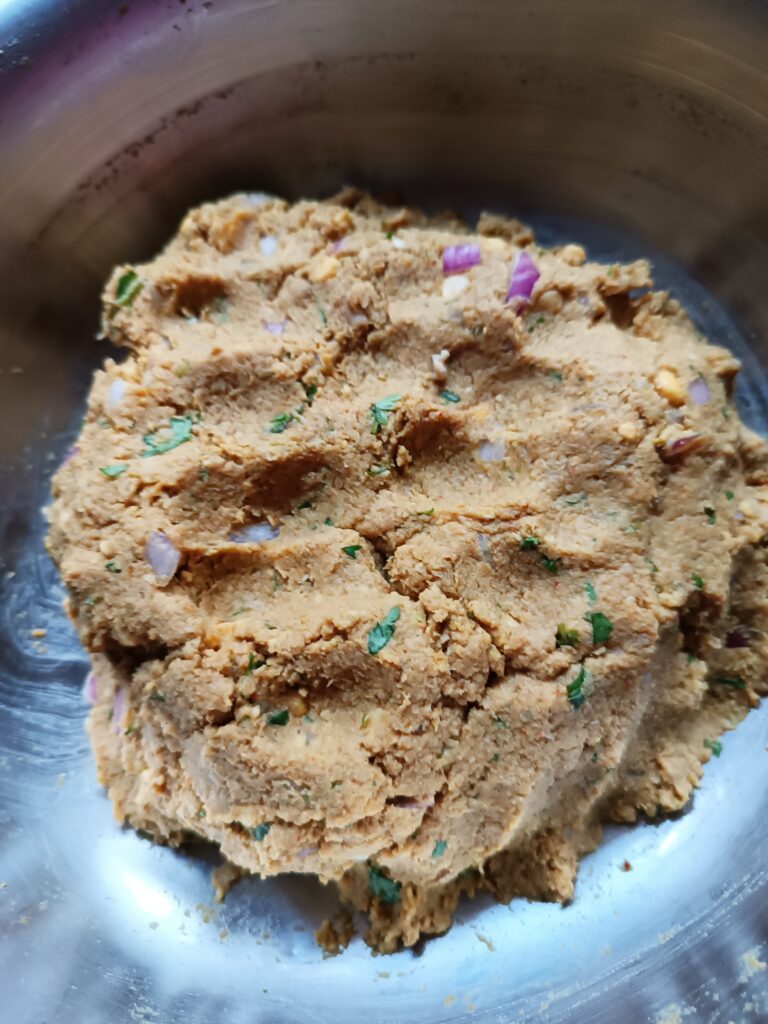
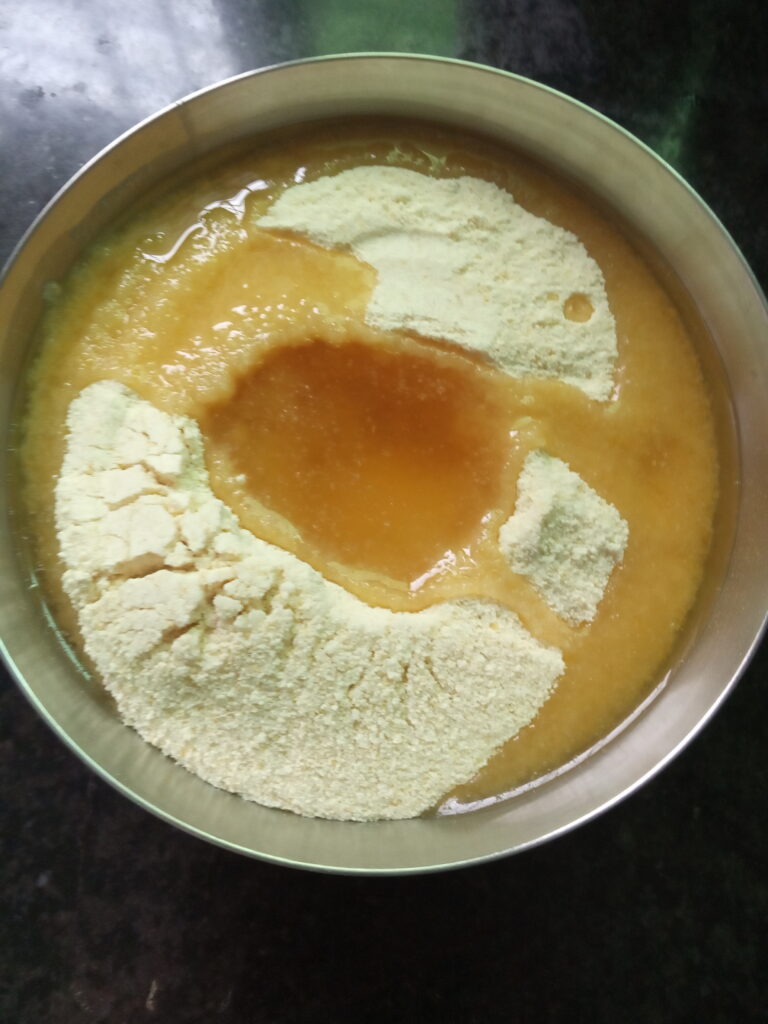
ત્રણેય લોટ ને ચાળી લેવા. બટેટા ની પિલ કરી ગ્રેટ કરી લેવા. દૂધી ને કટકા કરી ગ્રાઇન્ડ કરી લેવી. ત્યારબાદ લોટ માં બધા મસાલા નાખી મોણ,દહી,બટેટા નું છીણ અને ગ્રાઇન્ડ કરેલી દૂધી એડ કરી સારી રીતે મિક્સ કરી મીડિયમ સોફ્ટ લોટ બાંધી પંદર મિનિટ ઢાંકી ને rest આપવો
PICTURE OF STEP 1


STEP 2
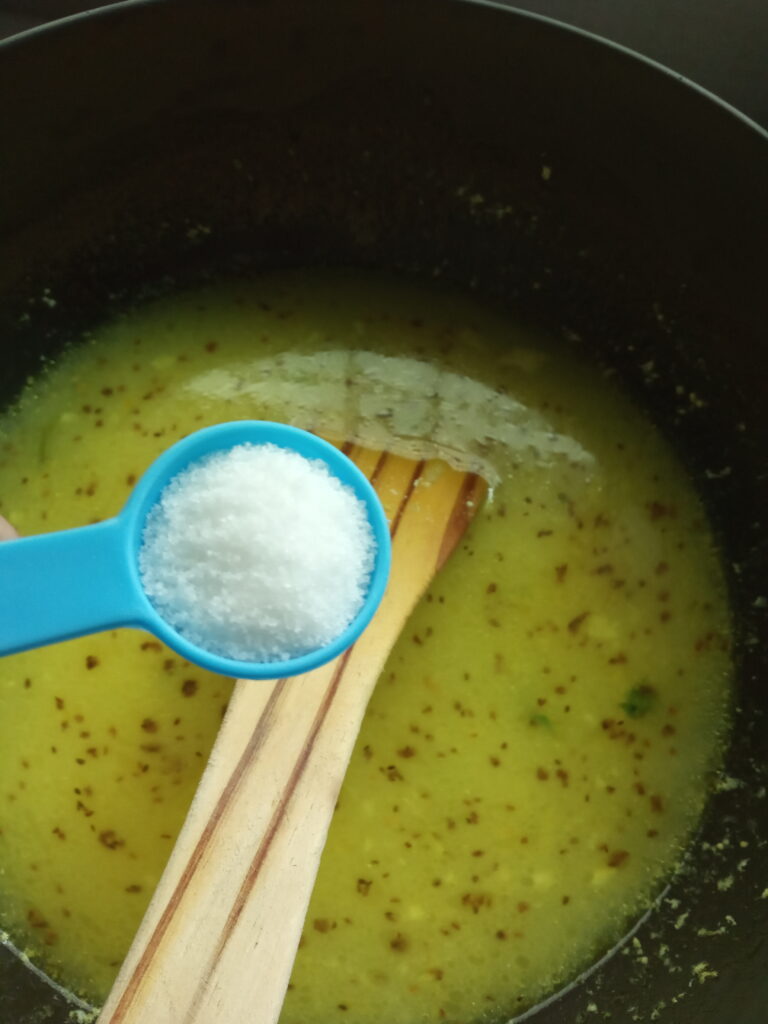
Rest બાદ લોટ ને પાછો કુણવી લઈ તેમાંથી થેપલા માટેના એક સરખા લૂઆ કરી લેવા. અને અટામણ ની મદદ થી પાતળા અથવા મનપસંદ સાઇઝ ના થેપલા વણી લેવા.
PICTURE OF STEP 2

STEP 3
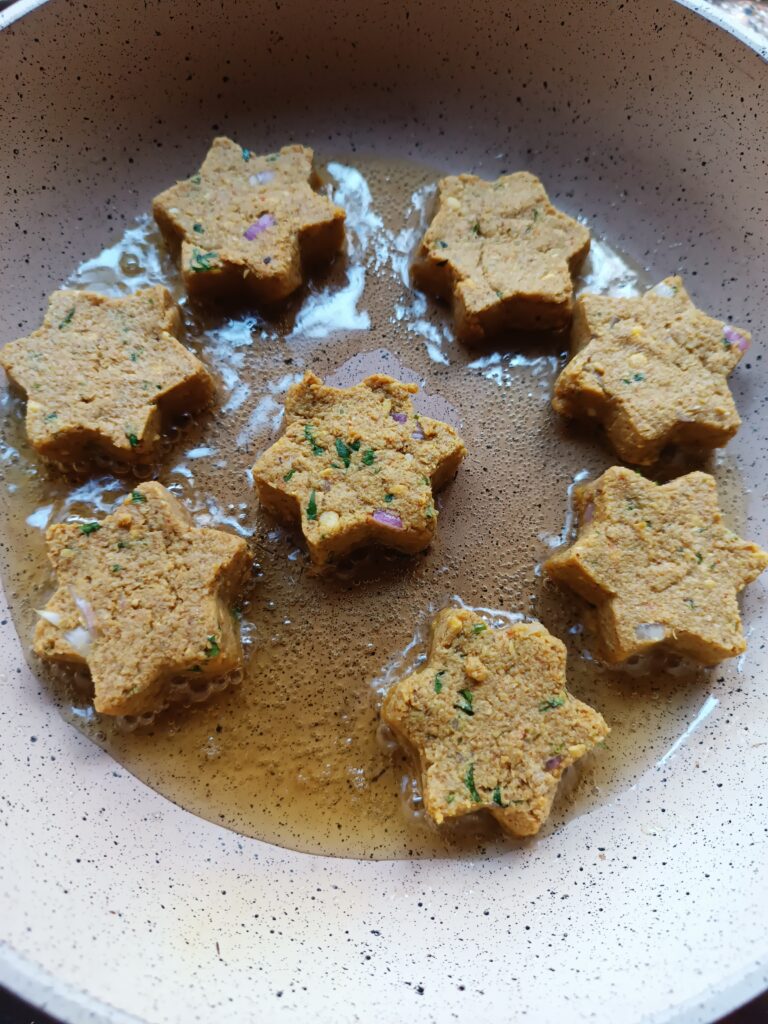
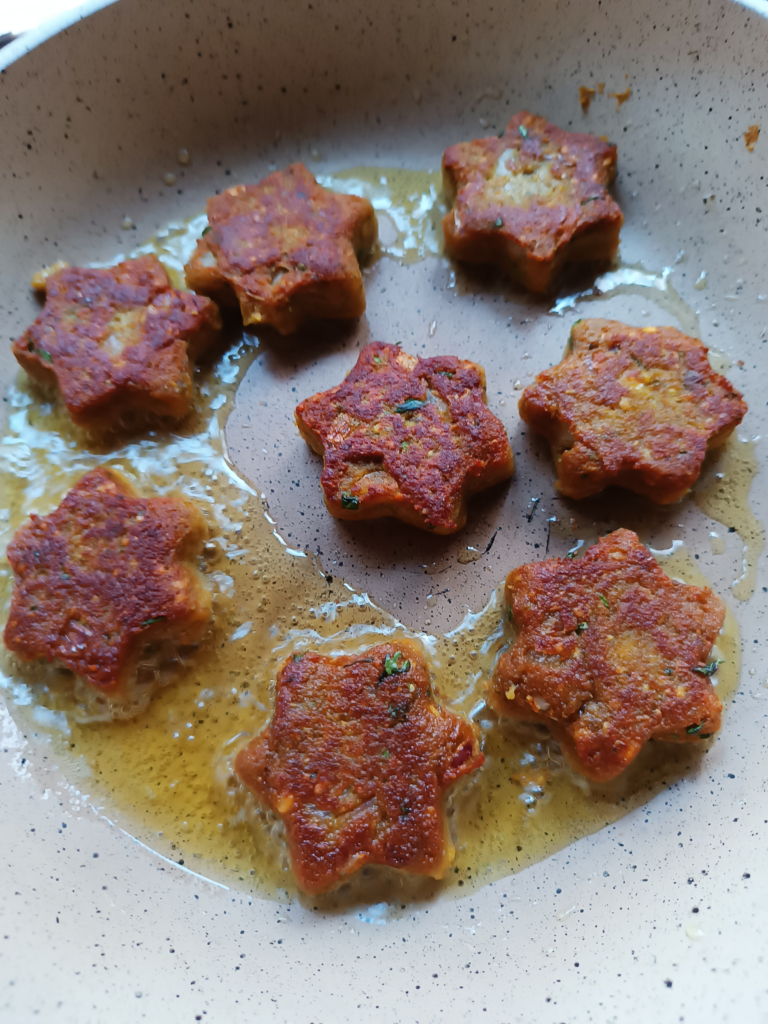
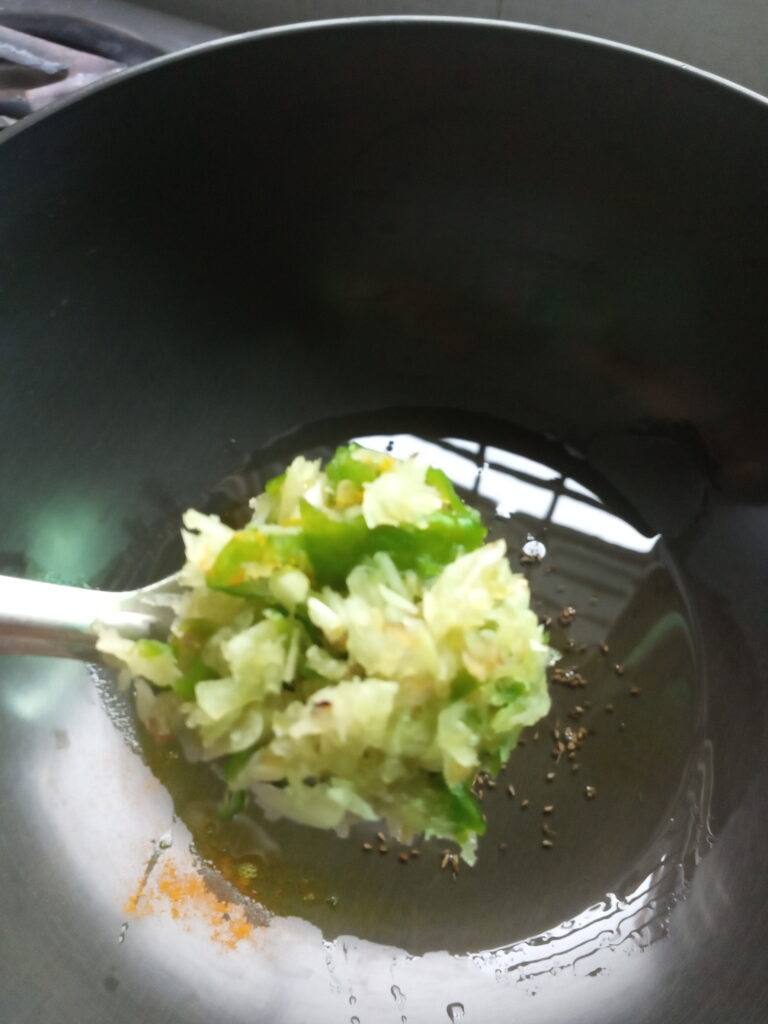
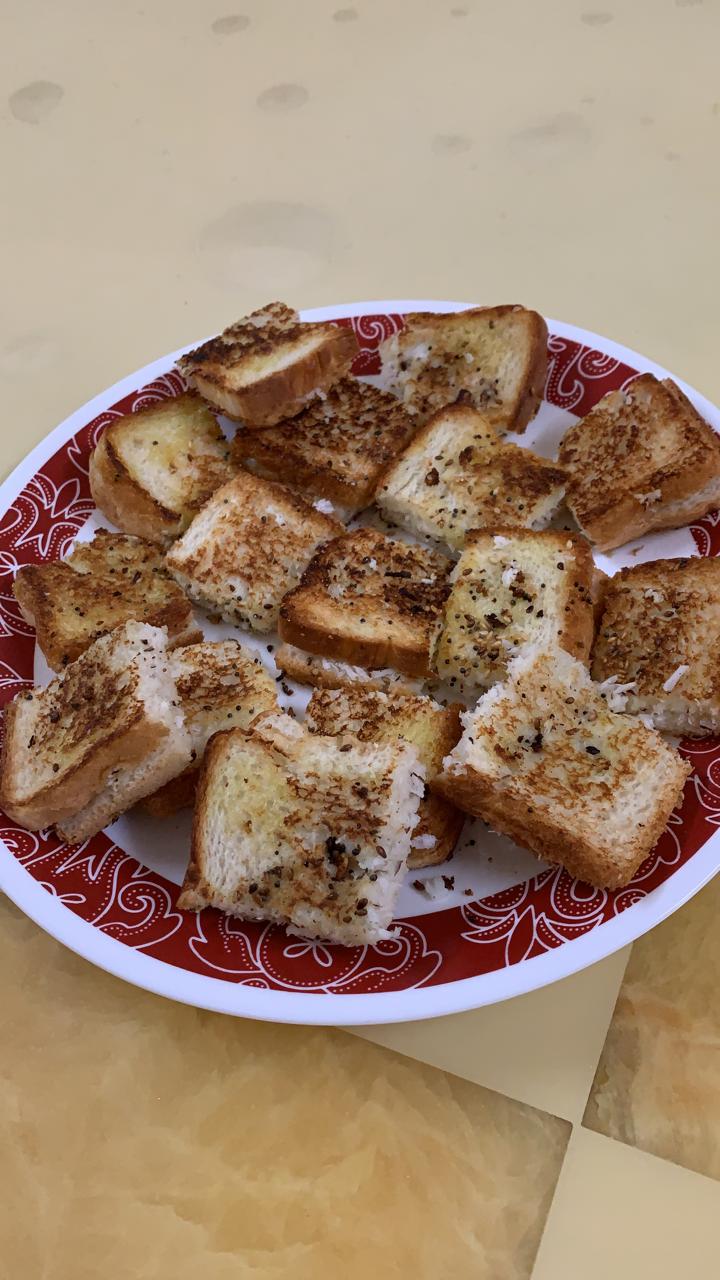
તવા ને ગ્રીસ કરી થેપલા ને મિડીયમ થી ફાસ્ટ ગેસ પર બંને બાજુ તેલ મૂકી ગુલાબી છાંય પડે એમ શેકી લેવા.
PICTURE OF STEP 3


STEP 4
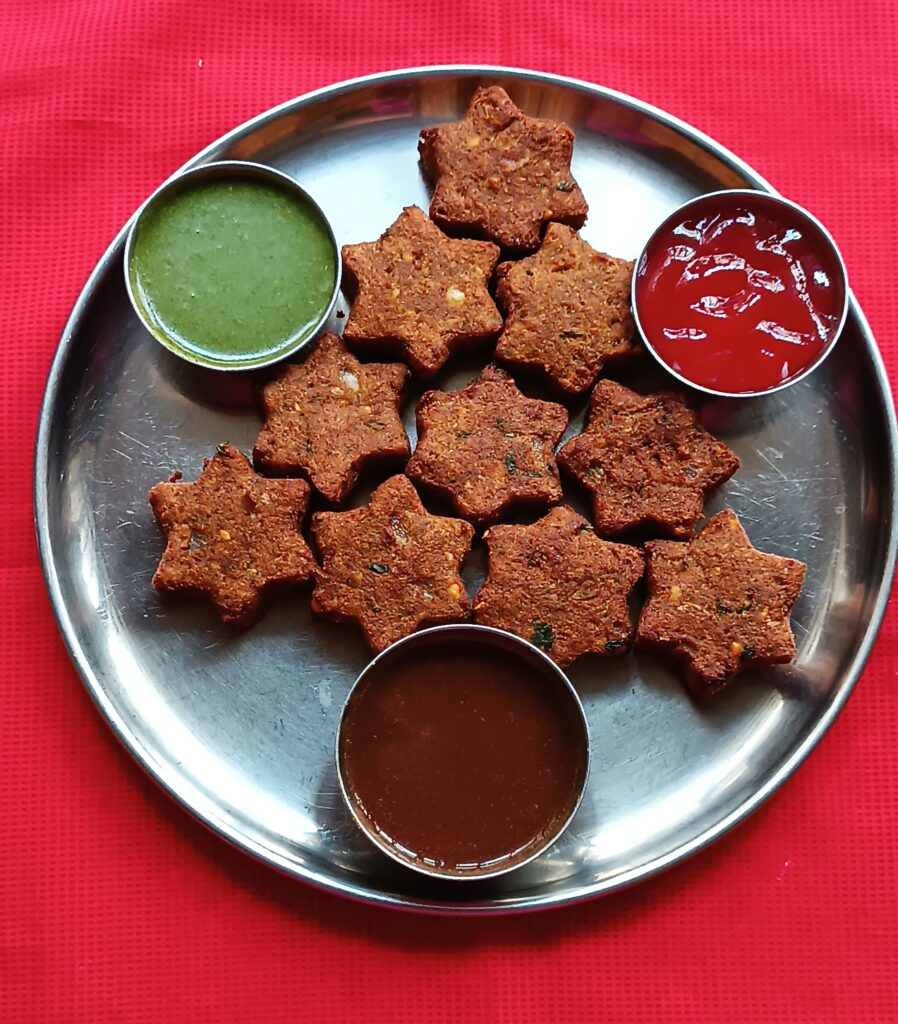
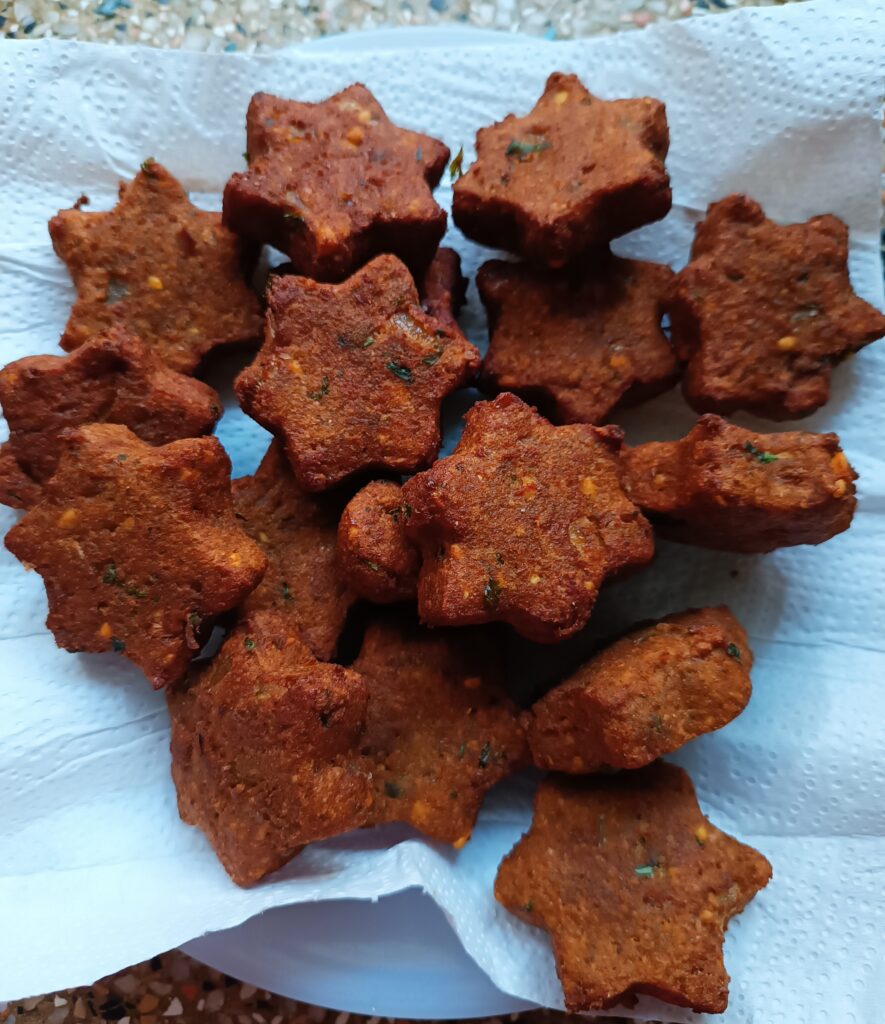
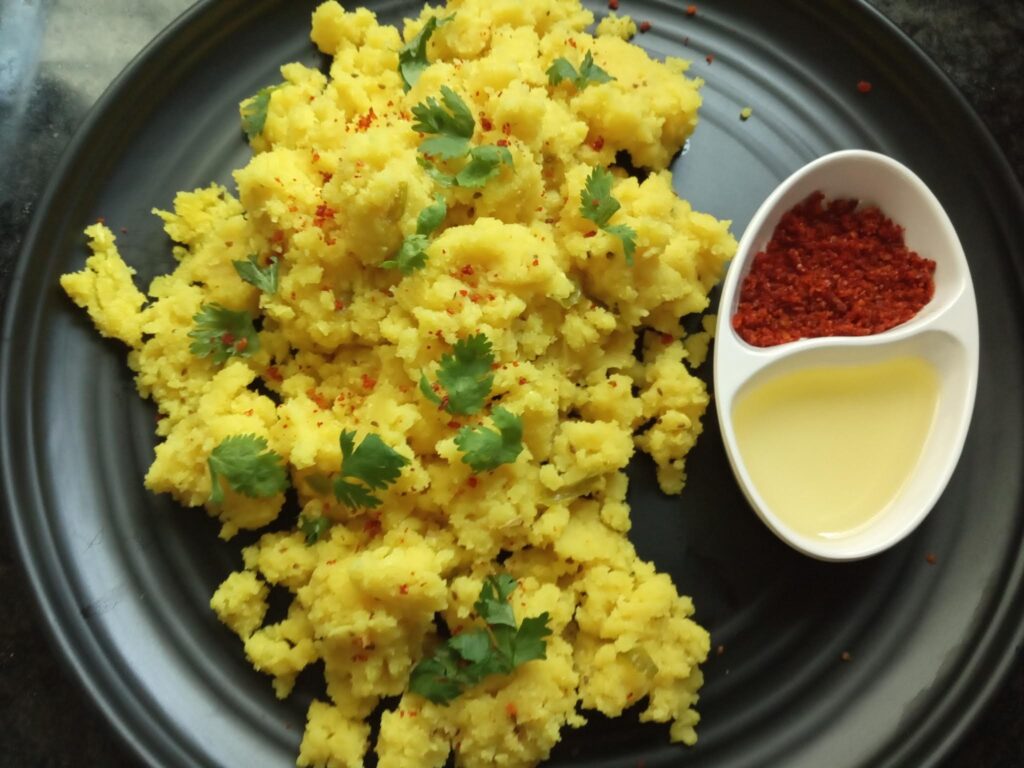
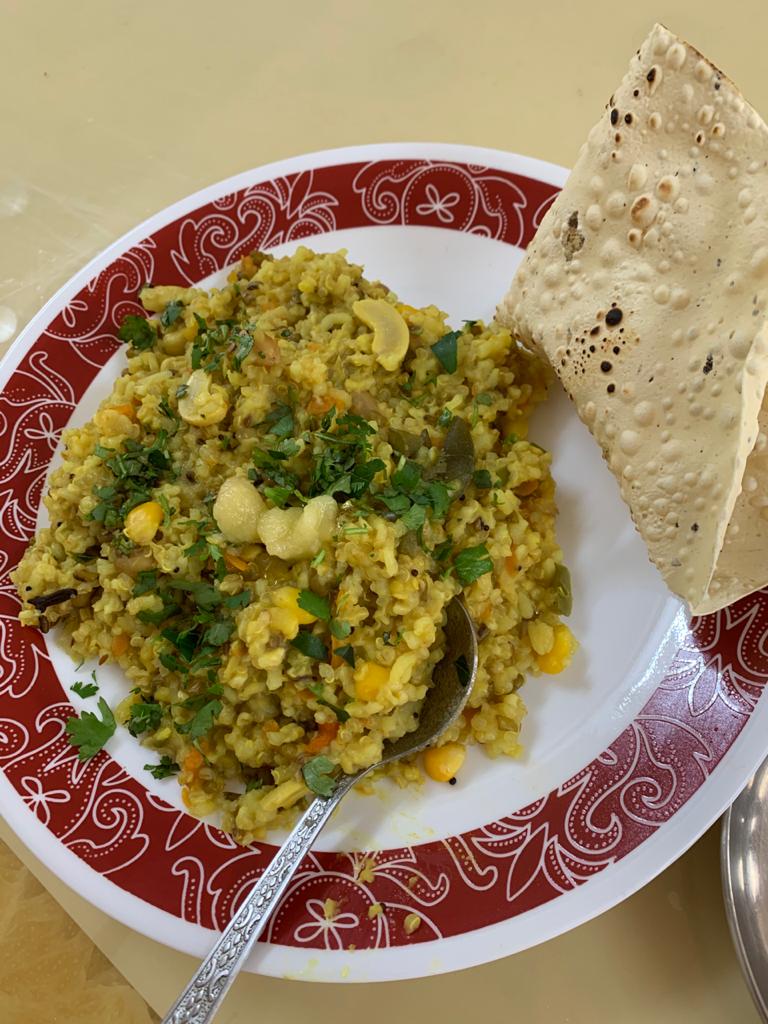
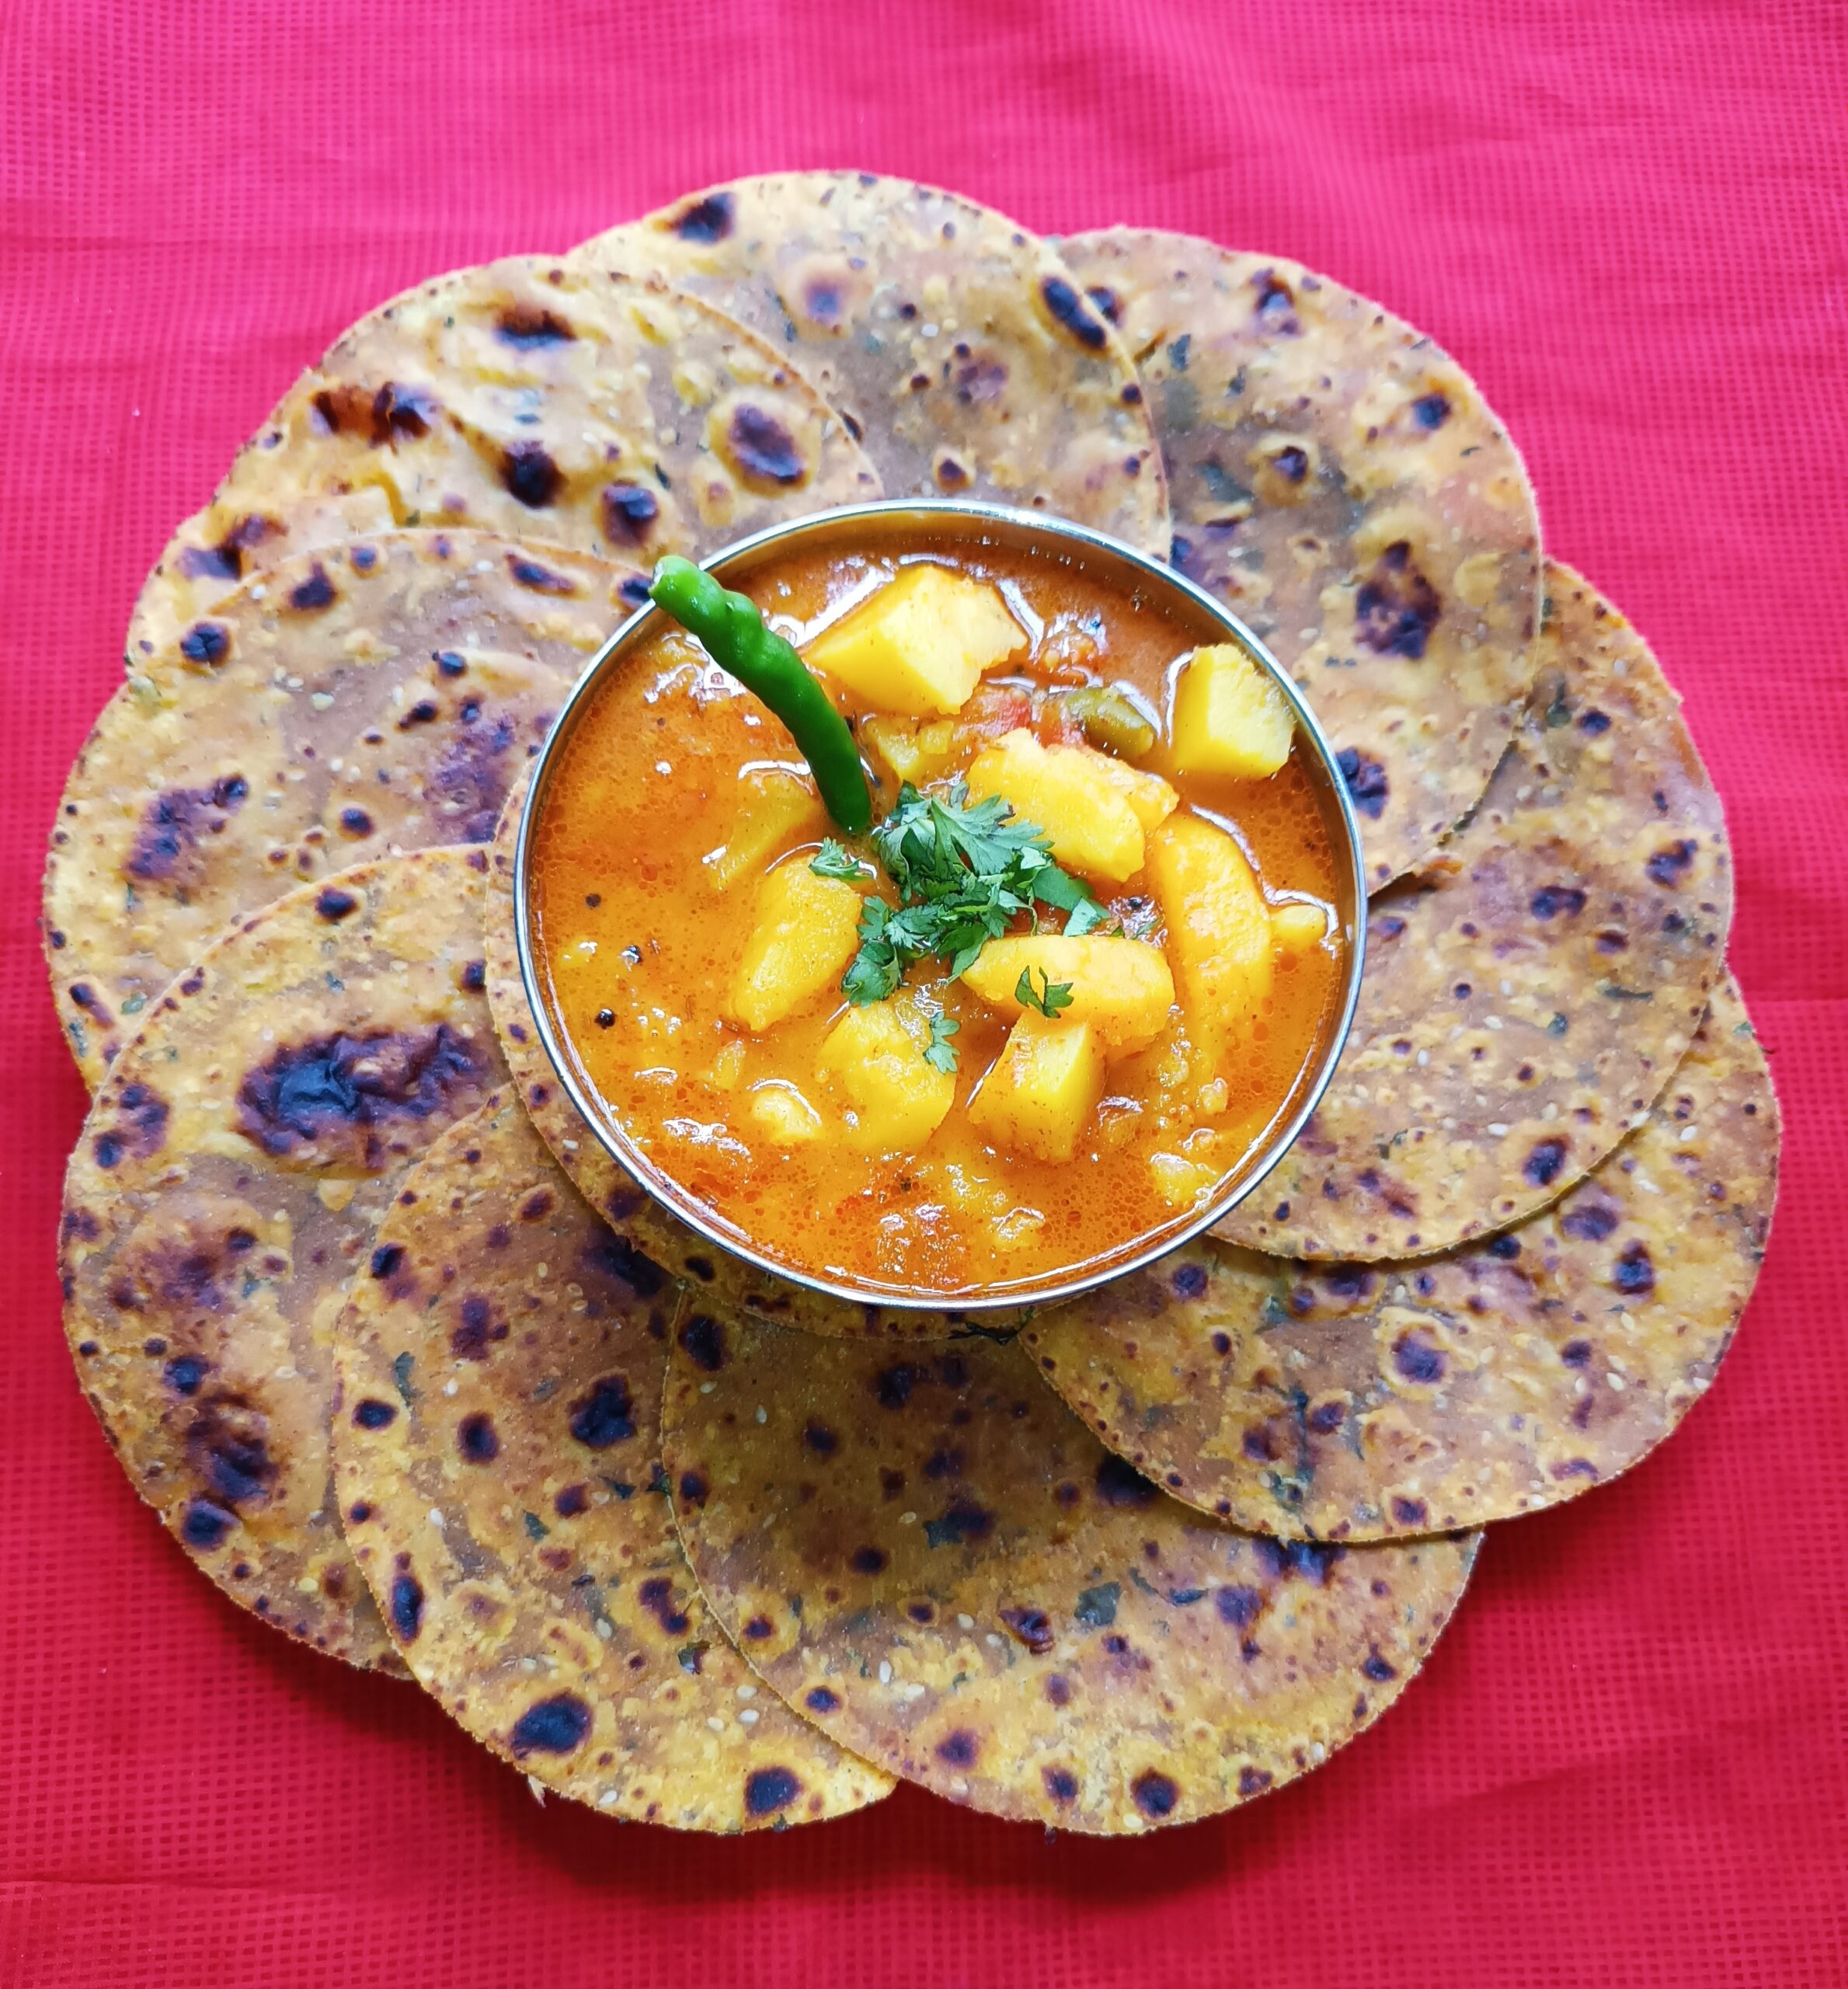
આ થેપલા ને મેં બટેટા ના શાક સાથે સર્વ કર્યા.. અથાણાં,દહી,શાક,ચાય કે દૂધ સાથે ખાઈ શકય. અને આમ જ એકલા ખાવા હોય તો પણ સરસ લાગે છે.
PICTURE OF STEP 4


Dudhi Bateta Thepla Notes
ત્રણેય લોટ ને ચાળી લેવા. બટેટા ની પિલ કરી ગ્રેટ કરી લેવા. દૂધી ને કટકા કરી ગ્રાઇન્ડ કરી લેવી. ત્યારબાદ લોટ માં બધા મસાલા નાખી મોણ,દહી,બટેટા નું છીણ અને ગ્રાઇન્ડ કરેલી દૂધી એડ કરી સારી રીતે મિક્સ કરી મીડિયમ સોફ્ટ લોટ બાંધી પંદર મિનિટ ઢાંકી ને rest આપવો
Rest બાદ લોટ ને પાછો કુણવી લઈ તેમાંથી થેપલા માટેના એક સરખા લૂઆ કરી લેવા. અને અટામણ ની મદદ થી પાતળા અથવા મનપસંદ સાઇઝ ના થેપલા વણી લેવા.
તવા ને ગ્રીસ કરી થેપલા ને મિડીયમ થી ફાસ્ટ ગેસ પર બંને બાજુ તેલ મૂકી ગુલાબી છાંય પડે એમ શેકી લેવા.
આ થેપલા ને મેં બટેટા ના શાક સાથે સર્વ કર્યા.. અથાણાં,દહી,શાક,ચાય કે દૂધ સાથે ખાઈ શકય. અને આમ જ એકલા ખાવા હોય તો પણ સરસ લાગે છે.
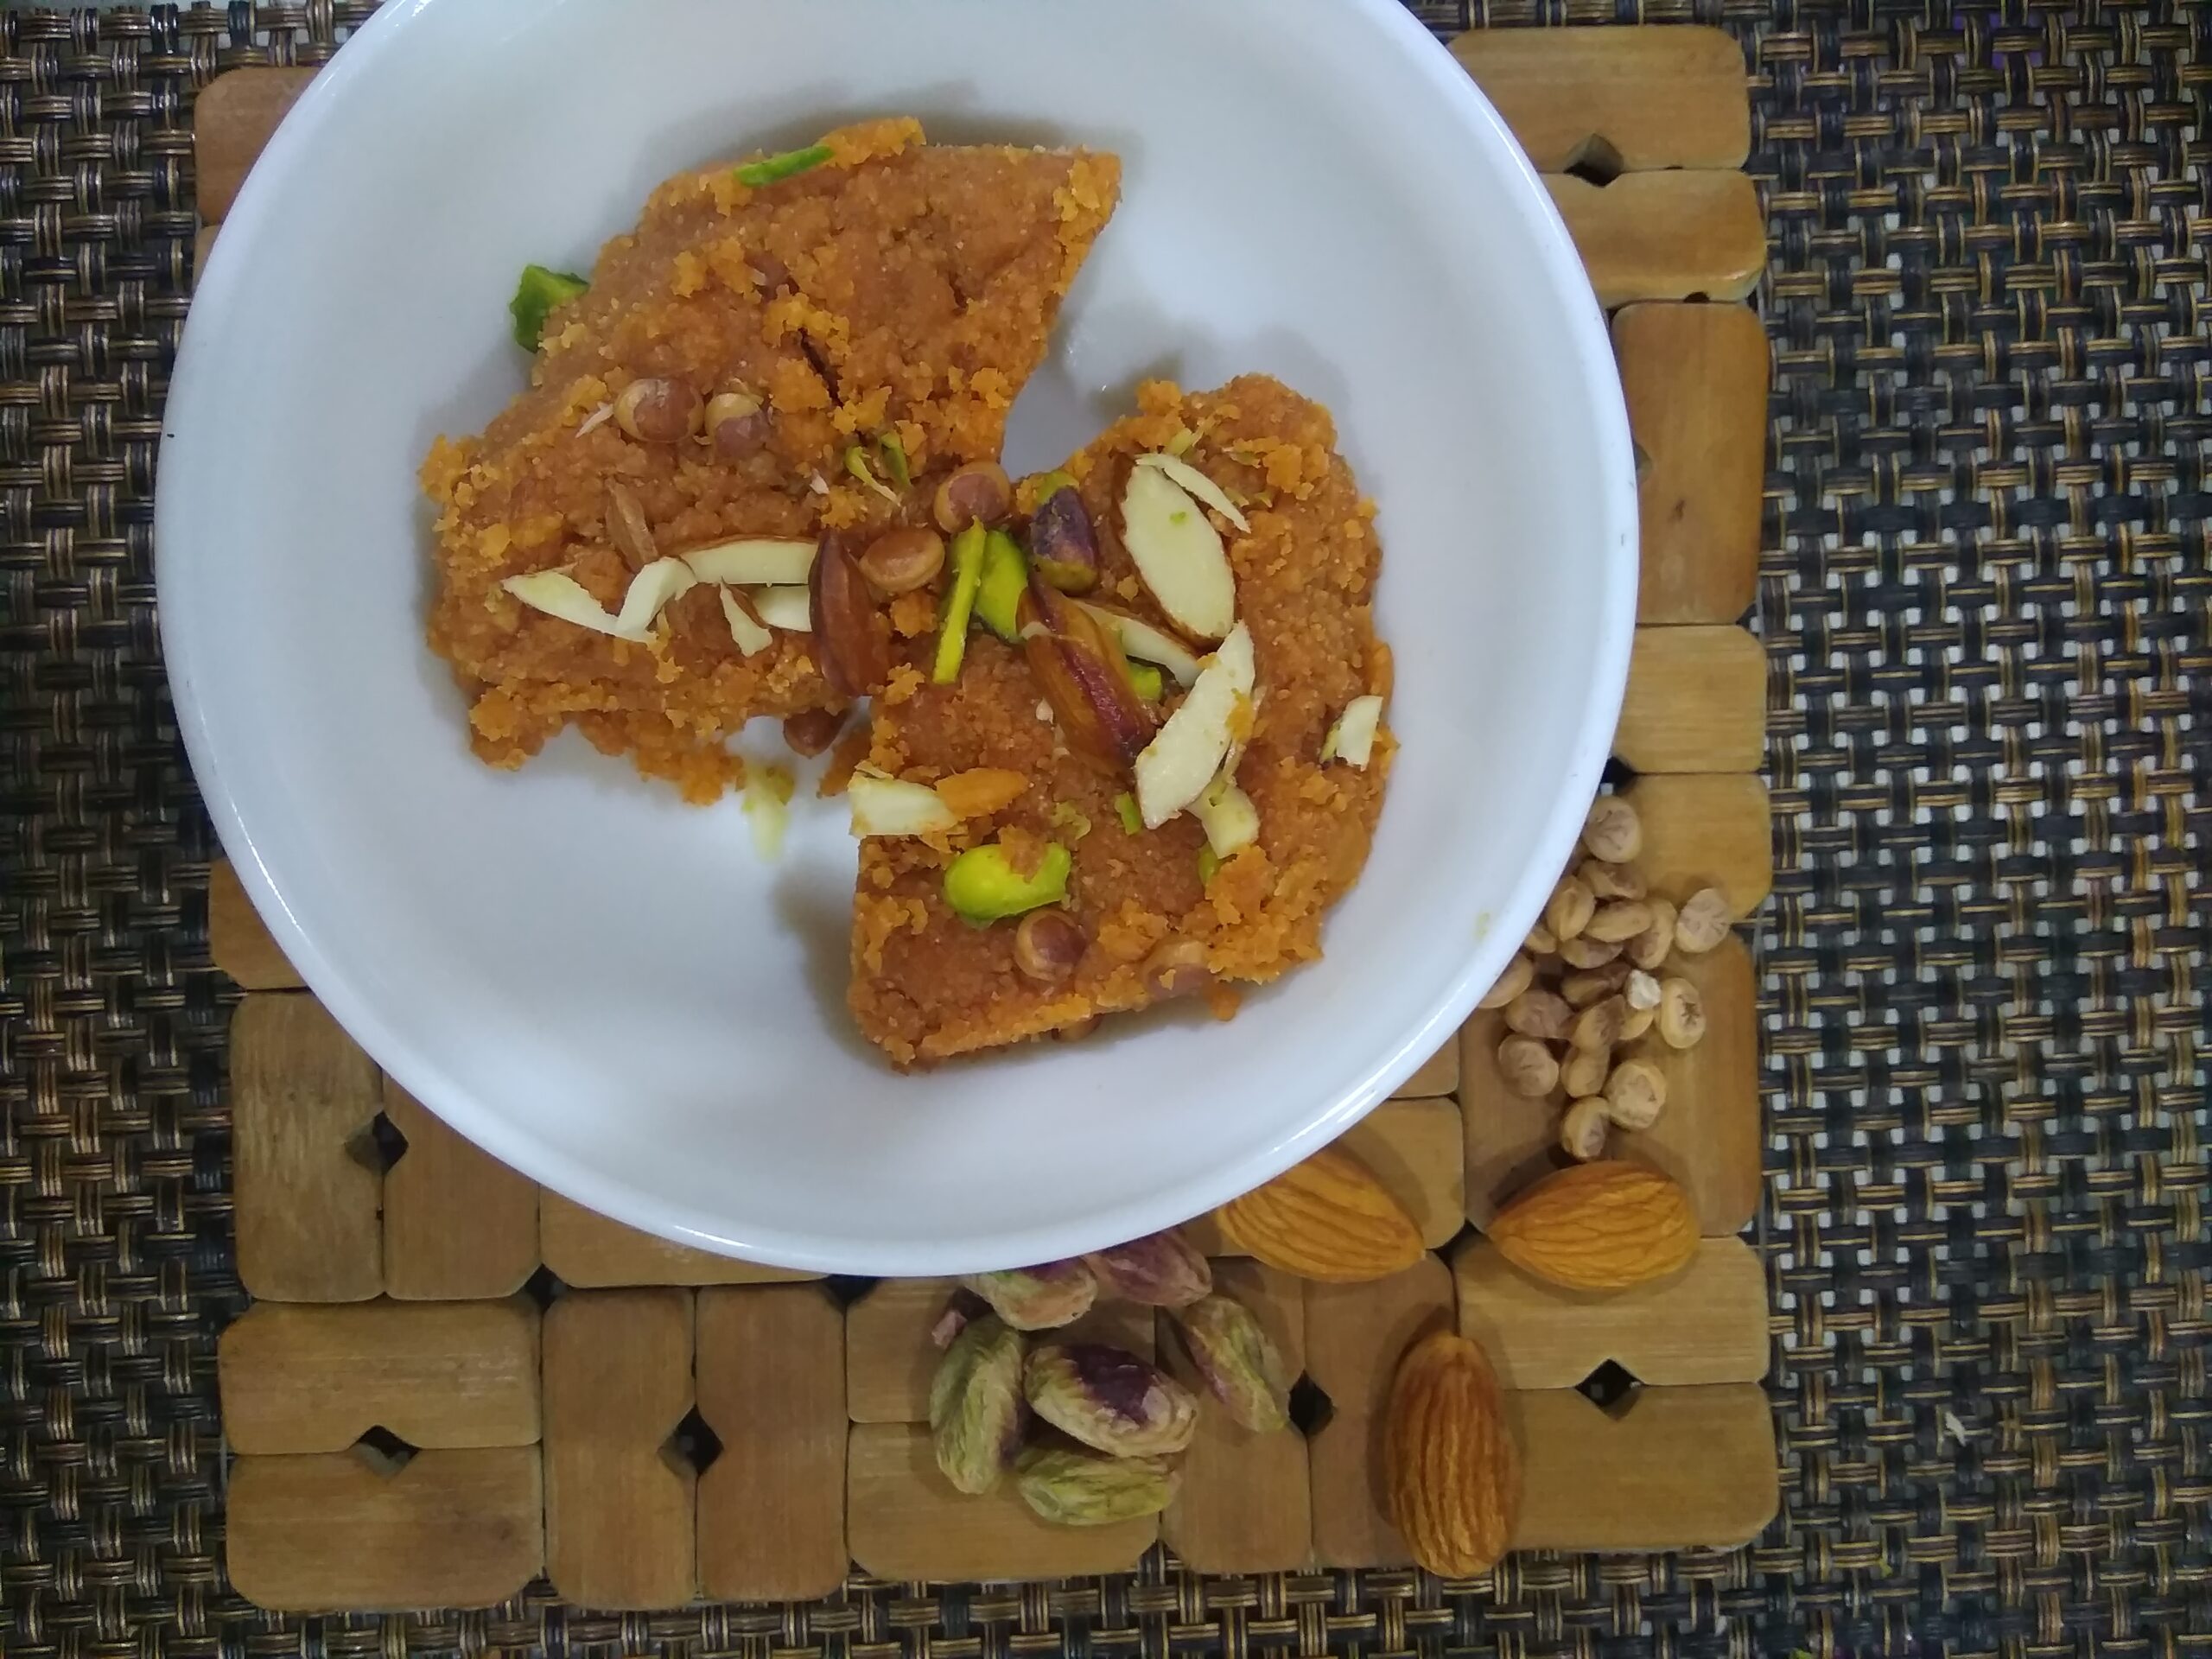
banana jaggery sukhdi from sangita vyas
દૂધ પનીર નો કોપરપાક : સદાબહાર સ્વીટ
જેને લોકો સમજી રહ્યા હતા કચરો, તેનાથી મારિયાએ ચમકાવી પોતાની કિસ્મત, મહિને કમાય છે 8 લાખ રૂપિયા, 40ને આપી રોજગારીપાણીમાં તરતા-તરતા રમ્યા દાંડિયા, વિશ્વાસ ના આવે તો જુઓ આ વાયરલ વીડિયો Hydroman Viral Video